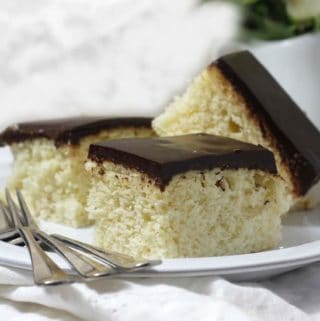
This fluffy vegan sheet cake has a melt-in-your-mouth crumb texture, and an astonishing vanilla flavor. Make a sheet cake or cupcakes.
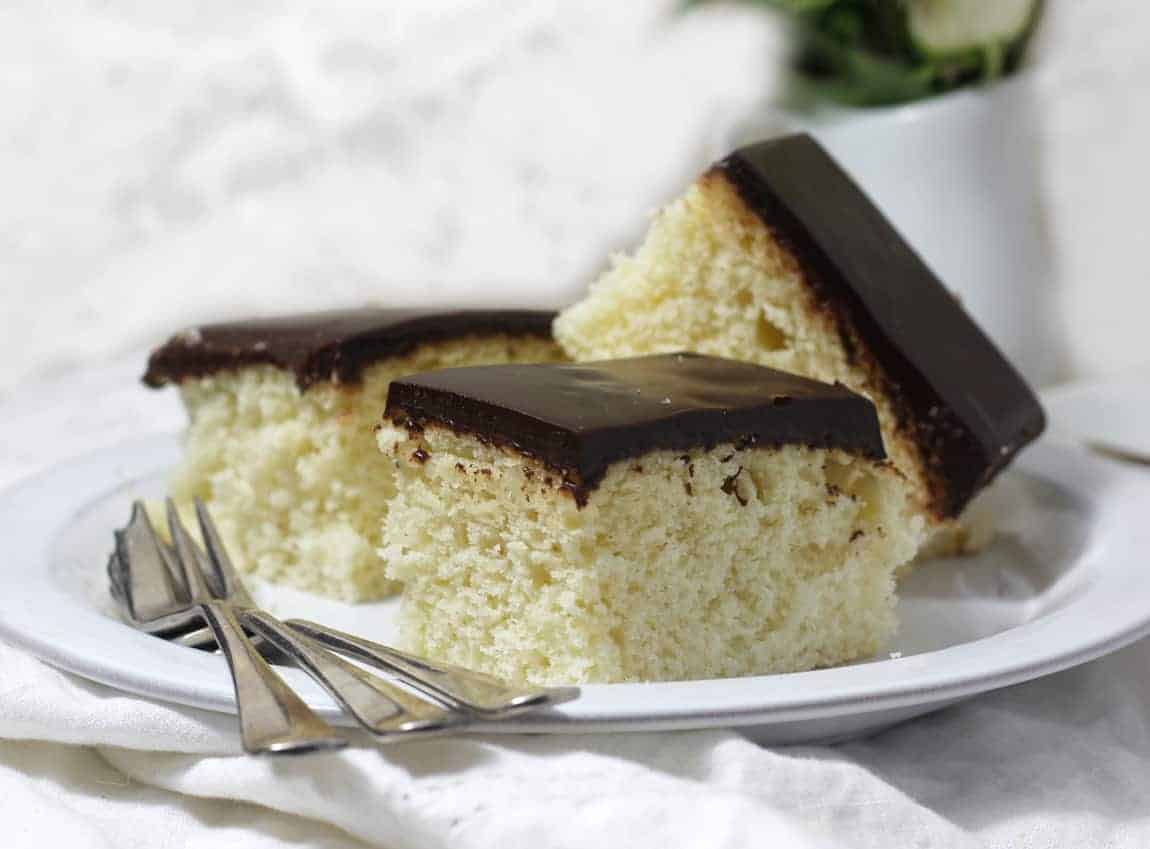
The ability to make a delicious basic vanilla bean vegan cake or cupcakes is a very basic but important skill.
This particular recipe lends itself perfectly to both cake and cupcakes. And it contains no eggs or dairy, depending on apple cider vinegar for a fluffy rise.
It works! I drink a tablespoon of ACV in water every morning to kick off my metabolism. And I use it to clean my silver. To use it to produce a fluffy crumb in vanilla bean vegan cake is the ultimate of multi-tasking, no?
I would add here the nutritional value of ACV as I do for primary ingredients in many of my posts. But let's be real. How much nutrition could ACV add to a single layer cake when only 1 tablespoon is used?
How to Create A Fantastic Vanilla Flavor
Here is my trick to helping this vanilla cake taste out-of-this-world vanilla-y.
You probably will guess - vanilla beans, not extract! BUT not exactly.
I make my OWN vanilla. Yes! It's actually easy. My mother taught me.
How to Make Homemade Vanilla Extract
Just add a bit of vodka to a bottle and pop in fresh vanilla beans, keep it in a dark corner cupboard for a few months, and ta-da! Fresh homemade vanilla.
Keep replacing the vanilla beans every few months and you can have fresh vanilla anytime you want.
If you don't want to make vanilla because you don't want to wait three months to make this cake, you can use a high-quality vanilla paste. Here is my favorite brand.
Use paste if you don't have fresh extract but want more flavor than store-bought extract provides.
The pastes are expensive but practically like a paste freshly made from vanilla beans so if you like to flavor with vanilla either make homemade or buy the paste.!
How to Make Vanilla Sheet Cake
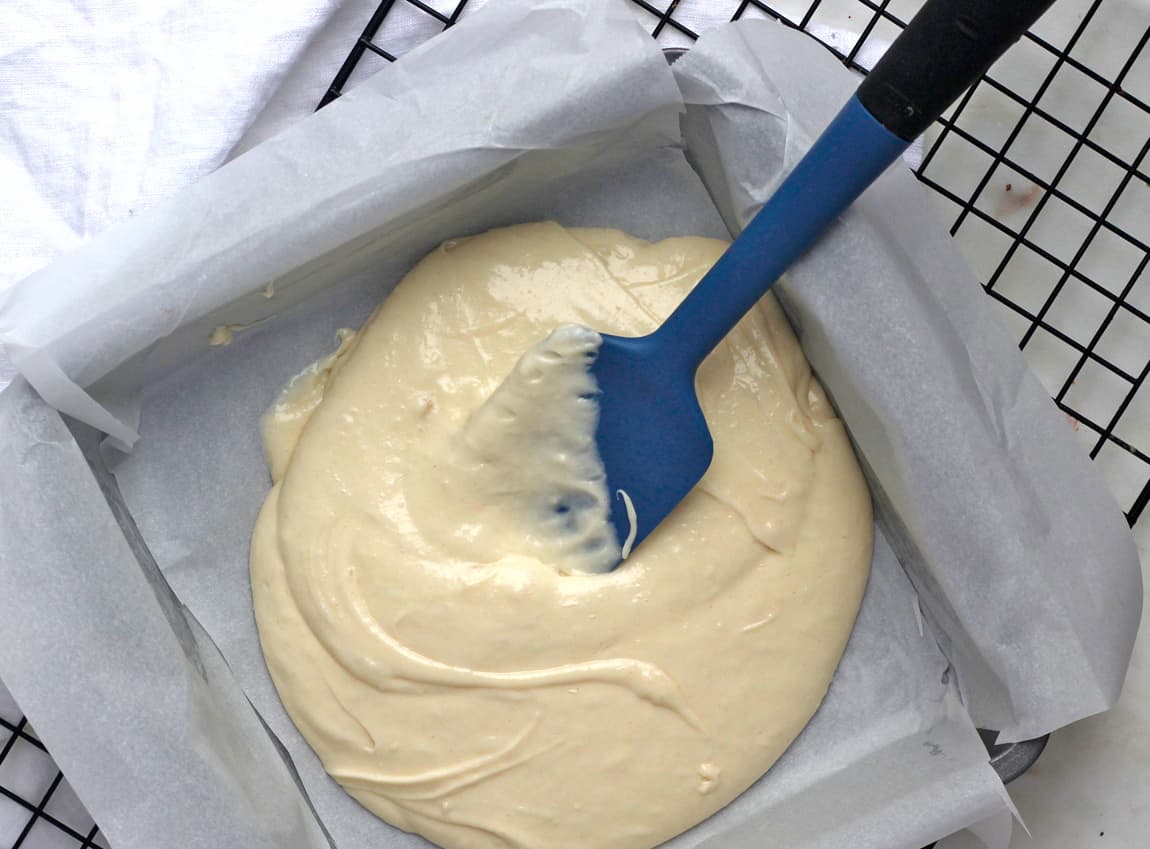
Cream up the butter and sugar a large mixing bowl (I use a hand-mixer). Next add in the remaining wet ingredients EXCEPT the water. (sorry don't mean to yell, haha). Cream it all up.
Next, in the small bowl, mix up the dry ingredients.
NOW pour the dry ingredients and water into wet ingredients, alternating each and in three batches. So pour in ⅓ of dry ingredients, ⅓ of water, ⅓ of dry ingredients, ⅓ of water, and so on until all water and dry ingredients are in there!
Now mix up completely.
Pour the batter into your prepared pan or cupcake papers and bake! See? Easy peasy to make healthier homemade delicious fresh homemade vanilla cake!
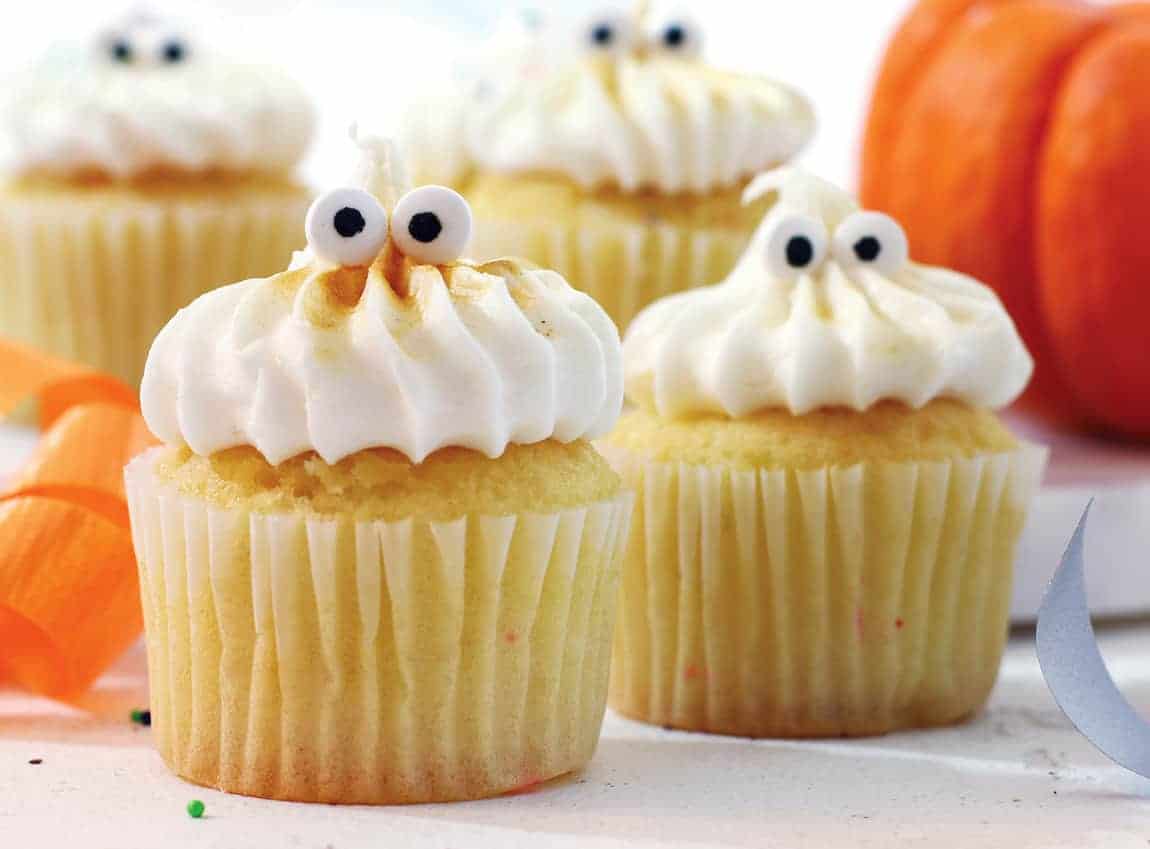
How to Decorate Holiday Cupcakes
I used a star tip, and piped on my vegan cream cheese frosting here, a recipe from my upcoming book! However, of course, use the frosting you prefer.
And the eyes and golden dust "eye shadow" can be bought on Amazon, I linked them up in ingredients!
I invite you to keep up with me on: Facebook | Pinterest | Instagram | Food Gawker | Twitter
Don’t miss a thing, subscribe here to get recipes delivered to your inbox!
📖 Recipe
Vanilla Vegan Sheet Cake
Ingredients
Wet Ingredients - In Large mixing bowl
- ⅓ cup vegan butter
- 1 cup organic cane sugar
- 1 cup cold water
- 1 tablespoon apple cider vinegar
- 1 teaspoon vanilla paste or homemade vanilla extract
Dry Ingredients - in Small mixing bowl
- 2 cups 1 to 1 gluten-free baking flour
- 3 tablespoon corn starch
- ½ teaspoon baking soda
- ½ teaspoon baking powder
- pinch of salt
Ganache Frosting
- 1 cup dark chocolate chips
- ¾ cup full-fat coconut milk refrigerate the can, and use only the solid portion; you might need two cans to get ¾ cup solids
- 2 tablespoon maple syrup optional, taste-test to see if you want it sweeter
For Vanilla Holiday Cupcakes
- 2 cups your favorite frosting
- 1 french frosting tip set
- 1 edible gold dust spray (for creature eye shadow)
- Candy creature eyes
👉Want to Save This Recipe?
Instructions
Prep
- Preheat your oven to 350F.
- Line a square 8-inch by 8-inch baking pan with a criss-cross of parchment paper. Sometimes I grease the pan a bit first to help the parchment stick.
- If your butter is coming straight out of the refrigerator, shop the butter roughly and put in a pyrex measuring cup and soften in a microwave for 30 seconds. You only want to soften it, not melt it. Alternatively you can let it sit to soften on the counter-top for 2-3 hours.
- NOTE: In some dairy-free baking, another prep step might be that you add the ACV to milk to allow it to curdle and then add that to the batter. But NOT in this recipe. First of all, there is no milk. Second, the ACV works just fine with the baking powder and baking soda in the batter.
Make the Cake
- Of the wet ingredients, add the butter and sugar to the large mixing bowl. (Yes, I consider the sugar wet even though it's dry). Using a stand-mixer (or hand-mixer (that's what I use!), cream the butter and sugar completely. This creaming is probably the most important step in a vanilla cake, other than the choice of vanilla.
- Next, EXCEPT for the water, add all the rest of the wet ingredients to the creamed butter and sugar mixture and blend completely. Hold back with the water; you'll need to use it to help add in the dry ingredients.
- Now, incorporate all the dry ingredients into the medium mixing bowl.
- NEXT, another important moment in your cake's life, haha.
- Pour the dry ingredients and the water into the batter in three batches, blending between each addition set.
- Like this, pour in ⅓ of the water, pour in one third of the dry mixture - and blend it up. Repeat two more times.
- Once the batter is fully incorporated, pour it into the parchment-lined pan and bake for 30 minutes or until a tester comes out clean and top edges are brown (not dark brown).
- Let the cake cool in the pan 15 minutes. Then tug on the parchment and pull it out and let it cool on a rack before your frost.
Make the Ganache Frosting
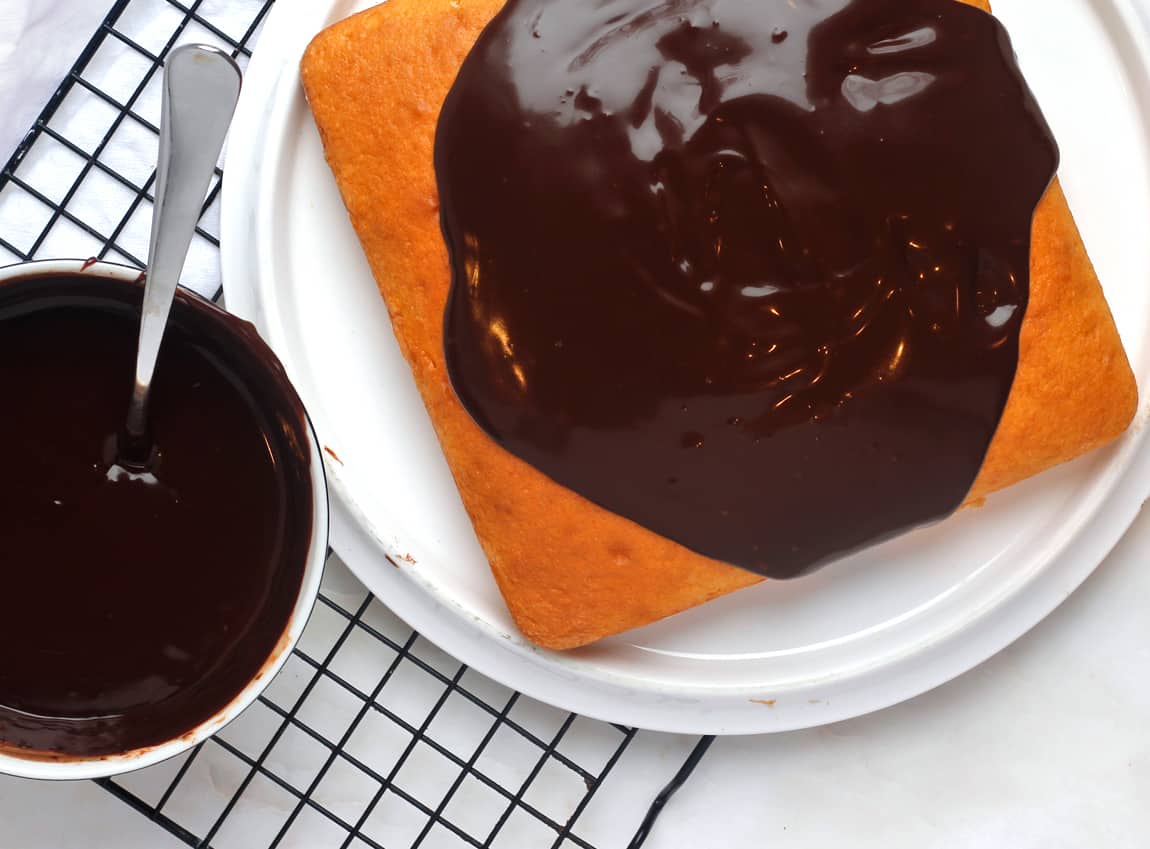
- Microwave the chocolate chips in a pyrex measuring cup for 60 seconds. Stir immediately to help all the chips melt.
- Add in the coconut cream, and stir until creamy. If the mixture is lumpy - perhaps the coconut cream isn't entirely melted, warm in gently in a water bath on the stove.
- Depending on how sweet your chocolate chips were, taste-test here, and add a few tsps of maple syrup if you want a sweeter flavor.
- Put the cake on a plate, and frost.
- Set the frosted cake in the refrigerator if you want to be able to clean-cut slices. After about 30 minutes, heat a sharp knife in a post of boiling water. Wipe it dry, cut the cake and repeat until all slices are cleaning cut.
To Make Cupcakes
- Follow cake making instructions exactly, but instead of pouring batter into an 8x8-inch pan, pour into paper lined cupcake tin. You can get either 8-12 cupcakes depending on high you fill them.
- Bake at 350 degrees for 20 minutes or until a tester comes out clean. Let the cupcakes cool before frosting them.
- You can frost with this chocolate frosting or your favorite vanilla frosting. The vanilla cream cheese vegan frosting I used is a recipe in my new book to come out in November 2019.
- To replicate my halloween cupcakes here, pipe with a large french tip, approaching the cupcake from above, pressing on frosting and pulling straight up. Don't swirl the tip.
- Spray the very top with gold dust to create "eyeshadow" for the creature. Pop on eyes!


Erin
hello, can this be made with all purpose flour or half cake and half all purpose? Also, how do you scoop / measure your flour for consistency ? Thanks for sharing! looks so soft and fluffy! i have a hard time with egg free vanilla cake. either too dry or too dense and gummy. will try this. thanks!
Dee Dine
Hi Erin, not sure about the flour. You'll have to experiment because it depends on your brands, etc. Also, I know that weighing flour is considered the most accurate method when following others recipes, but so many people don't have a scale. So I suggest, shaking the flour bag to loosen the flour inside, then lightly spooning the flour into the measuring cup, overtopping it, and using a knife to level. That way the flour is loose, not packed and should be fairly accurate. Hope that helps! Dee
Ela
This vanilla bean cake looks amazing. I love the chocolate frosting, looks so decadent! Great recipe, Dee 🙂
Dee
Thank you Ela!