

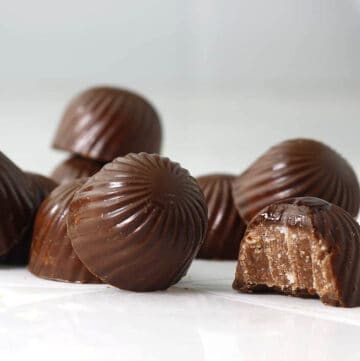
Make chocolate candy in molds easily using a simple method that produces a chocolate coating with snap and shine, and creamy fudgy fillings. Easy to make, budget-friendly and the perfect holiday gift.
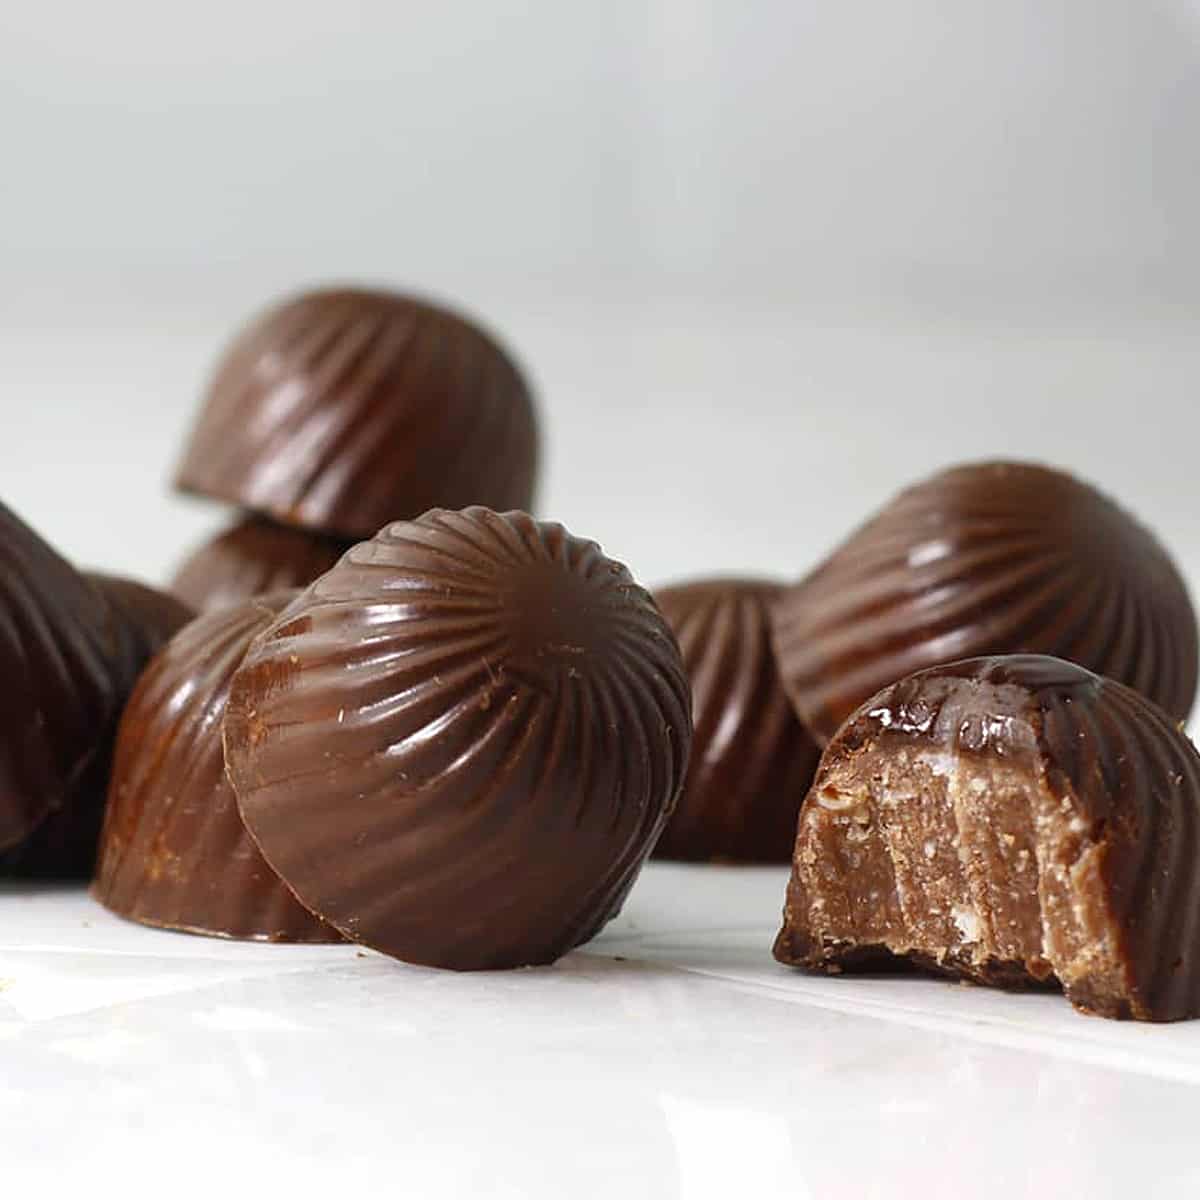
Make homemade chocolates with a snappy, shiny coating and fudge interior cream in under an hour. These chocolates are shiny thanks to the use of a polycarbonate mold which creates a tempered chocolate shine. The inner filling is just three wholesome ingredients.
Make these chocolates for a fancy snack or as edible gives for Valentine's Day, Christmas, Hanukah, Mother's Day. Like my homemade chocolates in a box recipes, these chocolates are easy to make and far healthier than store bought chocolates.
Why You'll Love These
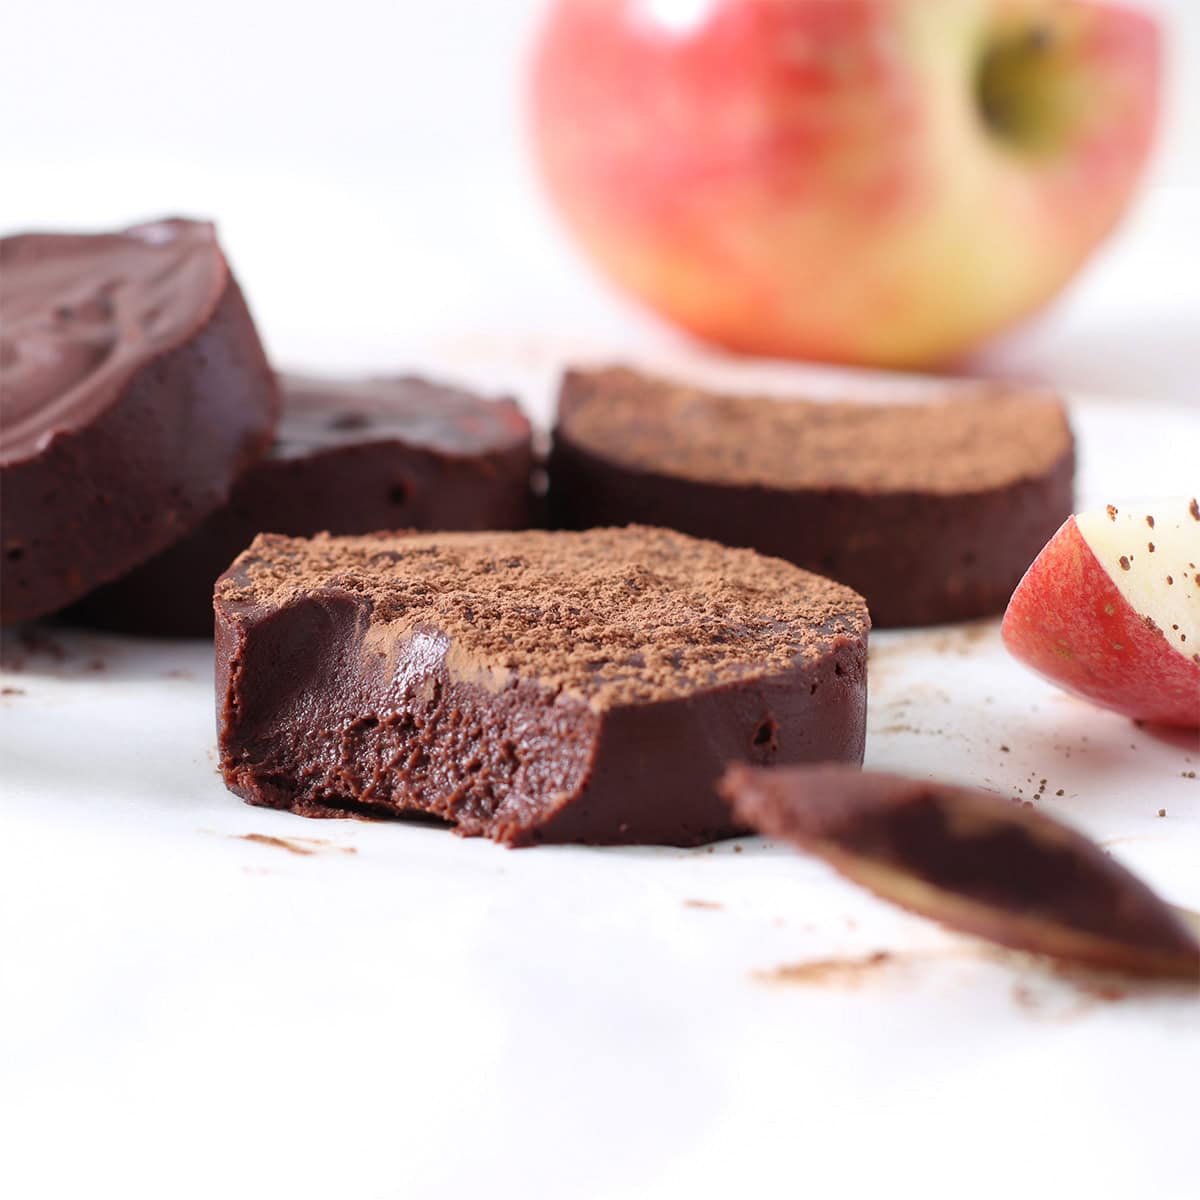
Chocolate fudge filling. The filling here is basically coconut butter made chocolate with cocoa and sweetened with maple syrup. This makes this delicious treat plant-based, dairy-free and refined sugar free. Yes, you can taste coconut, but you can dim it with a pinch of cinnamon.
Molds produce a shiny coating without tempering. It's easy to get that shiny coating, just use a candy mold. No need to learn or engage in the complicated process of tempering.
Inexpensive. A bag of shredded coconut, maple syrup and cocoa adds up to pennies per chocolate compared the wildly expensive store bought chocolates.
Ingredients
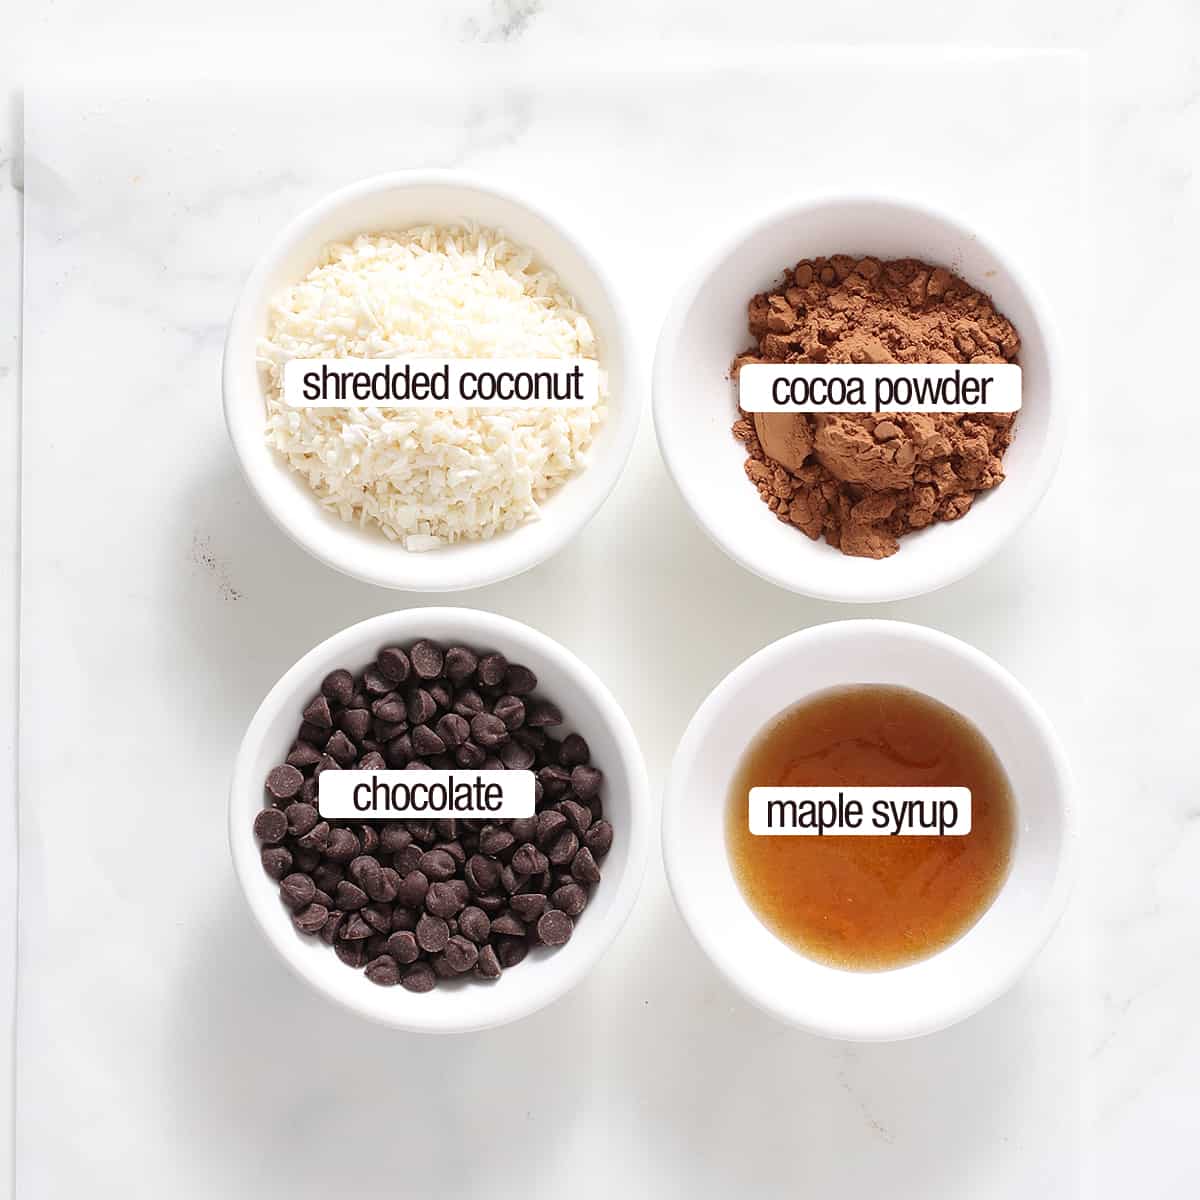
The ingredients for these homemade chocolates are simple:
shredded coconut : Buy a bag of shredded coconut. You'll need 3 cups to make 1 cup of coconut butter. Not flaked coconut, shredded and as fresh as possible.
cocoa : You need this to add to the coconut butter to make it chocolate in flavor.
maple syrup : Here is the sweetener I added. Coconut butter is naturally sweet, but if you add unsweetened cocoa, you'll need to sweeten it back up a bit.
chocolate : Melt chocolate chips or a chocolate bar for the coating.
Tools Needed
- candy molds. Either silicone (inexpensive, rubbery), or polyurethane (clear, hard, makes chocolate shiny, but more expensive)
- glass measuring cup. To melt chocolate.
- culinary paint brushes. To brush chocolate on mold.
Steps To Make
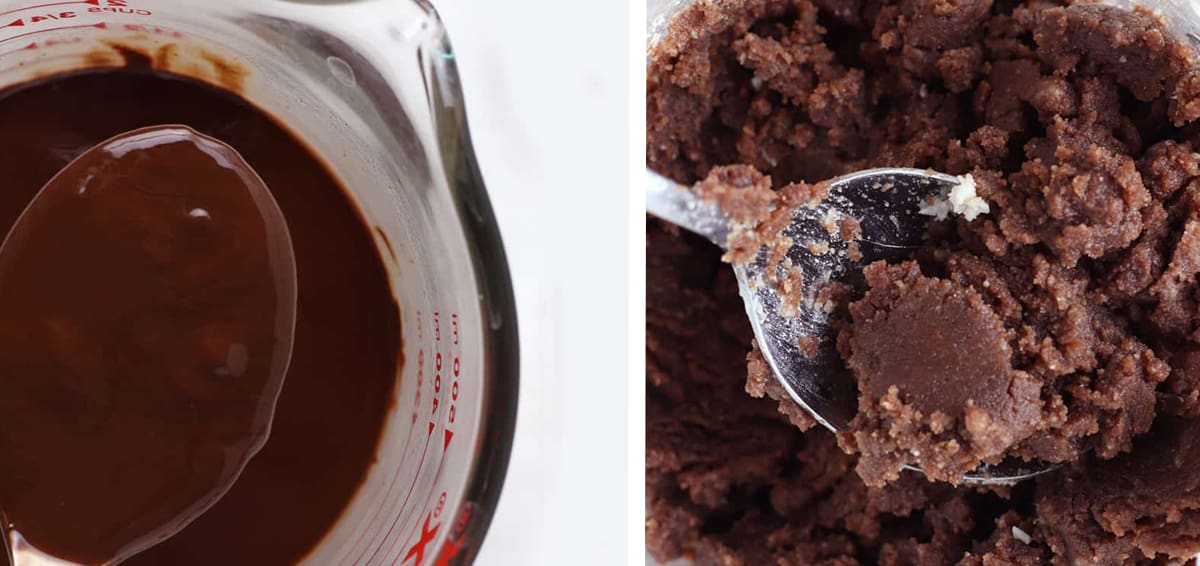
Step 1. First make the shell by melting quality chocolate with a touch of coconut oil for shine and pourable texture.
Step 2. Then either pour chocolate in the mold using a measuring cup and then pour the residual back, or brush chocolate into each mold well with a culinary brush. Refrigerate so the shell will set while you make the filling.
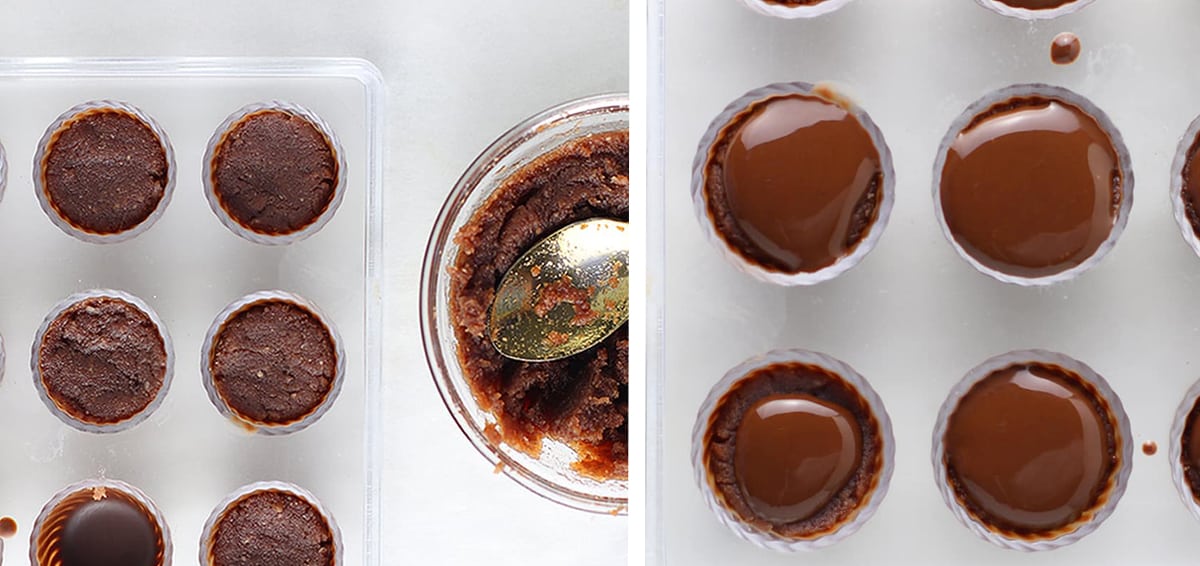
Step 3. Blend up the filling ingredients, roll into balls and press into the wells, or just spoon the mixture in and press it flat with the back of the spoon.
👉Want to Save This Recipe?
Step 4. Top with melted chocolate and set in refrigerator for about an hour or more before attempting to release them from the mold.
Step 5. Remove the chocolates from a polycarbonate mold by turning it over and twisting each end so the chocolates drop lightly onto a dish or parchment paper.
Best Mix-ins
I added a few teaspoons of fresh shredded coconut to my chocolate filling to add more coconut flavor to my filling. You can choose any add-ins you want. Some I recommend include:
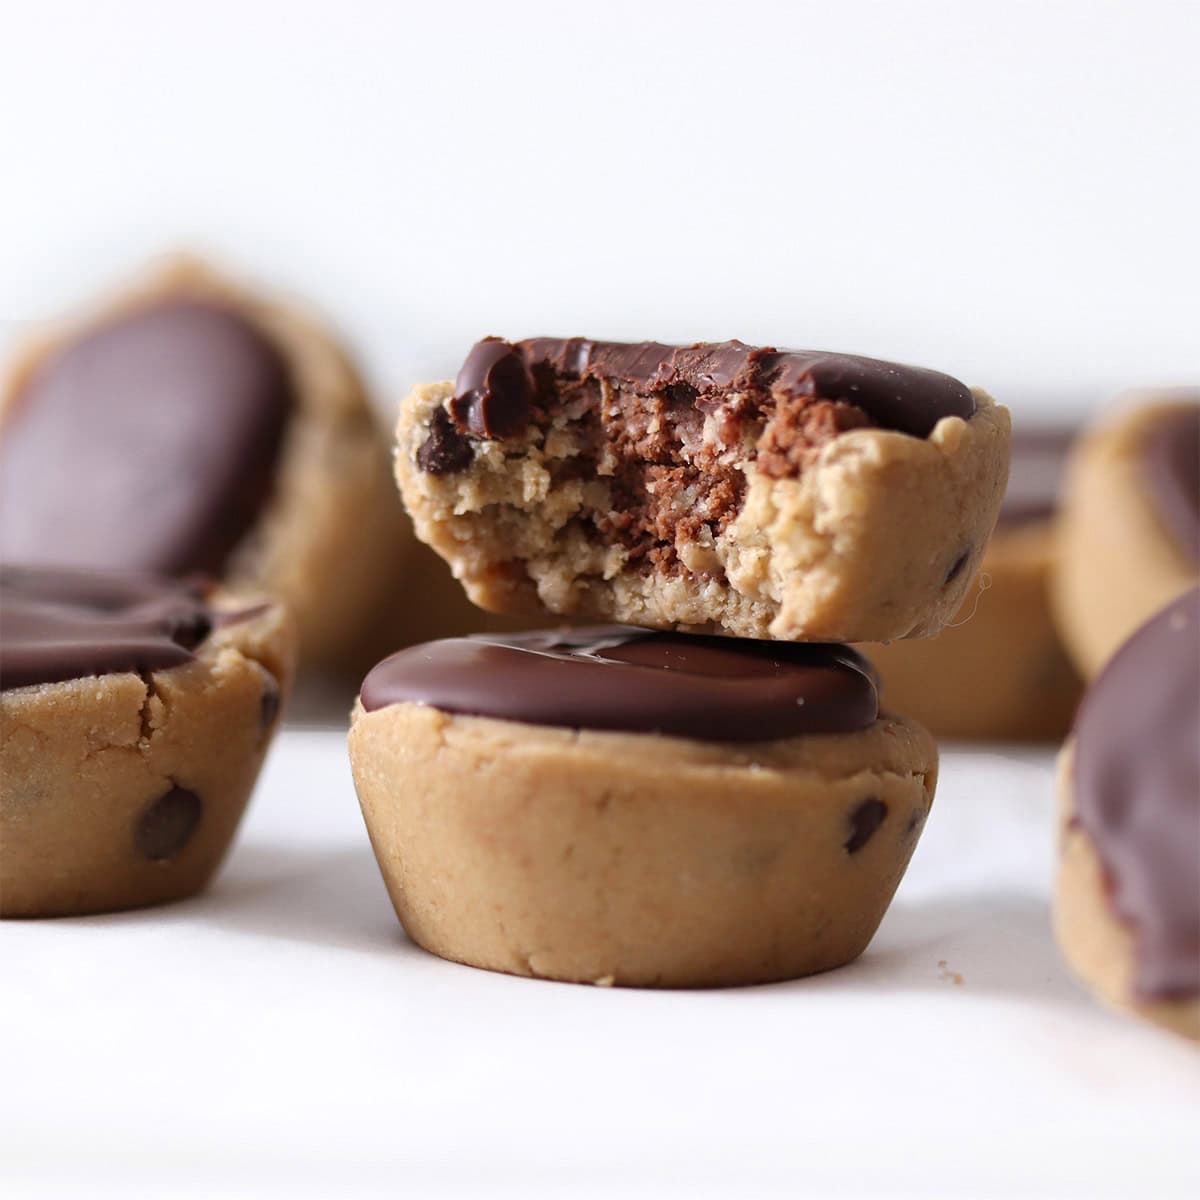
- mini chocolate chips
- crushed nuts
- roasted chickpeas
- swirls of peanut butter
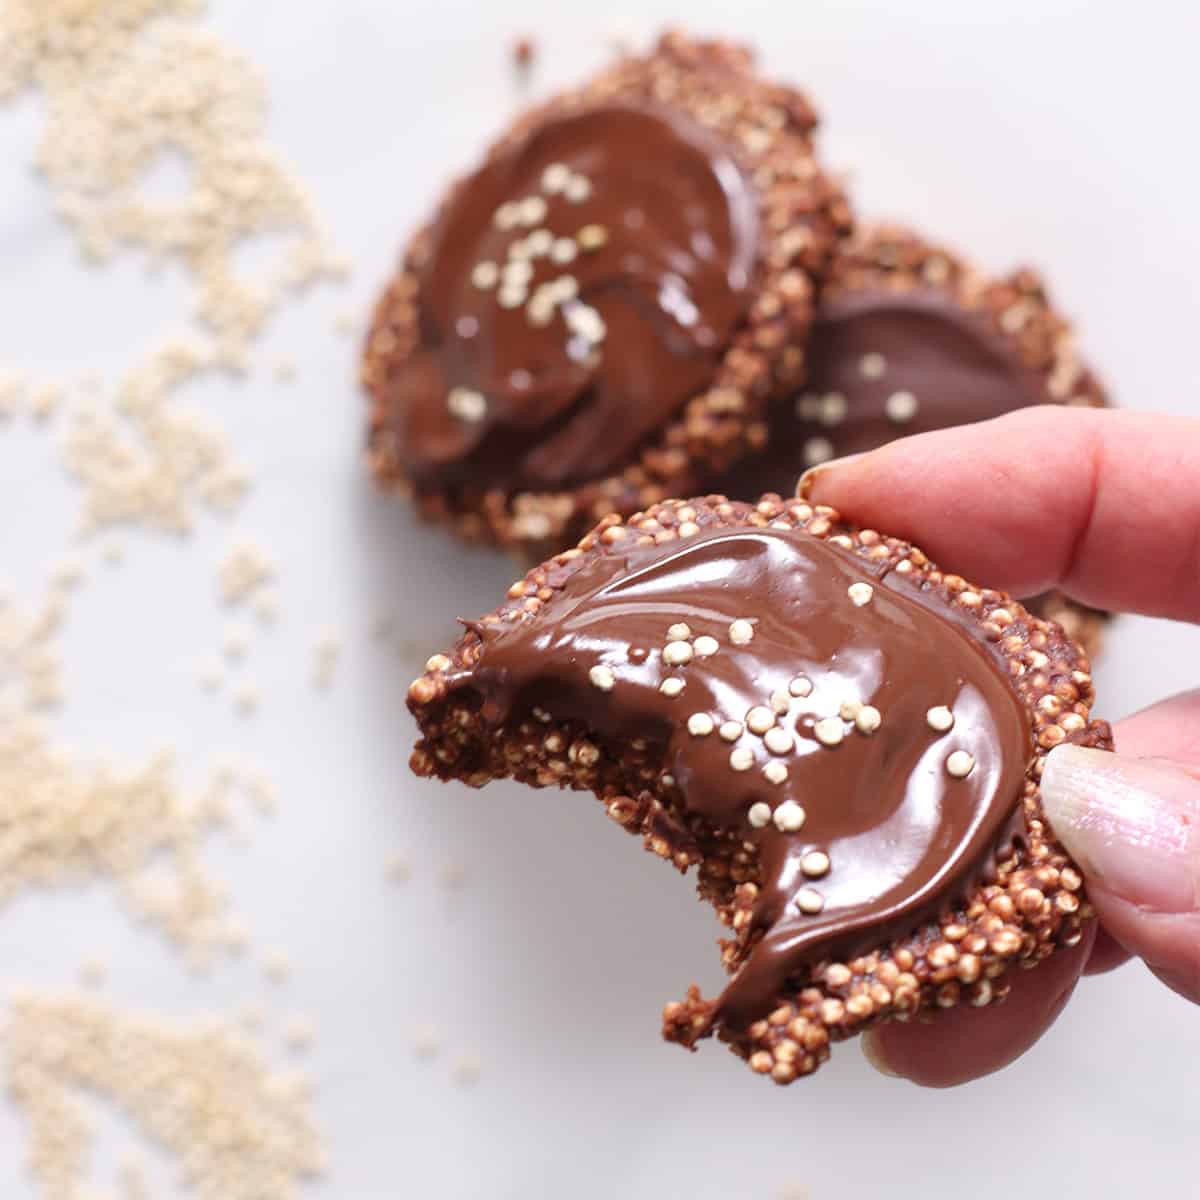
- toasted quinoa or puffed rice
- or bits of fresh ginger
Recipe Tips
Dim the coconut flavor. The coconut flavor isn't that strong, but if you want to dim it, add a teaspoon of cinnamon to the mixture or, if you like heat, a pinch of cayenne pepper.
Dry jars, mold & equipment. Don't let any water go near the melted chocolate or it will seize. If this happens, rescue your chocolate by heating it in a sauce pan and stirring without burning until it is smooth again.
Coconut butter. You can buy coconut butter in a jar where coconut oil is sold, but it's far less expensive to make it. Plus if you make it fresh, it is warm and liquidy, the perfect texture for this recipe. To make it, blend 3 cups of shredded coconut (you'll need an 8 ounce bag sold where coconut or nuts are sold) for 2-4 minutes in a high speed blender. A smaller jar works best, specifically one that allows you to stir and nudge while blending such as Blendtec's twister jar. Take a look at my Coconut Butter tutorial for more specifics.
About the molds. The clear polycarbonate mold pictured will achieve the shiny surface to your chocolates, the same that professional chocolatiers achieve through a lengthy complex process called tempering. But polycarbonate molds are expensive and hard to clean, so silicon molds can also be used. The downside is the chocolate surface won't be as shiny, but they are less expensive, come in more shapes and sizes, and can be washed in the dishwasher.
Make chocolate coating smooth. Make sure the coating is not too thick or thin or it will be hard to coat your mold evenly. Depending on the brand of chips or bar you use, you might need to add more oil to thin it out. You should be able to paint the chocolate in the mold well with a spoon so the coating remains.
Storage
To make the chocolates stay fresh longer, don't remove them from the mold until you are ready to eat or gift them. As soon as you do, the shiny top will begin to dull. Also store them in the refrigerator sealed for a week. You can freeze them but they begin to develop a white coating.
FAQS
What do you need to make chocolate?
You'll need a mold, a bowl, a spoon, and the ingredients which are coconut butter, cocoa, maple syrup and chocolate.
What chocolate is best for making chocolate?
I found the best chocolate is brands that taste good. I prefer Enjoylife, Hu, and Ghirardelli. But use the chocolate brand that tastes best to you.
Why does homemade chocolate taste different?
Homemade chocolates taste better than store bought because you can control the ingredients, and there are no artificial flavors or additives.
Other Filled Chocolates
If you tried this recipe or any other recipe on my website, please leave a 🌟 star rating and let me know how it went in the 📝 comments below. Thanks for visiting!
📖 Recipe
Chocolate Candy In Molds
Ingredients
Chocolate Coating
- 1 cup chocolate chips
- 1 tablespoon coconut oil
Chocolate Filling
- 1 cup coconut butter* you'll need 3 cups of shredded coconut
- 1 tablespoon unsweetened cocoa powder
- ¼ cup maple syrup
Useful Equipment
👉Want to Save This Recipe?
Instructions
Melt the chocolate:
- Put chocolate and coconut oil in a pyrex measuring cup or other microwave-safe bowl. Microwave for 1 minute. Stir mixture with a spoon until smooth. If the chocolate hasn't melted, microwave again for 15 seconds and stir again.1 cup chocolate chips, 1 tablespoon coconut oil
Coat The Chocolate Molds:
- Either pour chocolate into the mold and pour the residual chocolate back into the measuring cup, or spoon chocolate into each well and brush up the sides with a culinary paint brush.
- Refrigerate the mold with coated wells while you make the filling.
Make the Filling
- Blend up the shredded coconut until it turns to butter, about 1-2 minutes depending on the speed of your blender, smaller jars work best. You'll need 3 cups of shredded coconut to make 1 cup of coconut butter. Store in a covered jar what you don't use.1 cup coconut butter*
- Add in the cocoa powder and maple syrup to the coconut butter and blend again. If you want to dim the coconut flavor, add a teaspoon of cinnamon or, if you like heat, a pinch of cayenne pepper.1 tablespoon unsweetened cocoa powder, ¼ cup maple syrup
- Add any optional add-ins at this point, folding it into the mixture.
Fill the Mold Wells
- Remove the mold from refrigerator, and roll tiny balls of the mixture and press into the molds, flatting the top level with the top of the mold well. Or spoon the amount directly into each well to nearly fill, press to level with the back of the spoon.
- Spoon ½ teaspoon or less of melted chocolate on top of each well and set in refrigerator to solidify. At least one hour.
Remove from Mold
- If you used a polycarbonate mold, remove the chocolates by turning the mold over onto a dish or parchment paper and rap the mold sharply. Sometimes you need to slightly twist the mold. If you have a silicon mold, push the chocolate out of the mold.*A silicon mold is easier to work with but a polycarbonate mold makes the chocolate shine as though tempered.
Store the Chocolates
- Once out of the mold, store the chocolates at room temperature for two days, then in the refrigerator for 1 week, or freeze indefinitely. However either method will slightly dull the sheen.
Give Chocolates as Presents
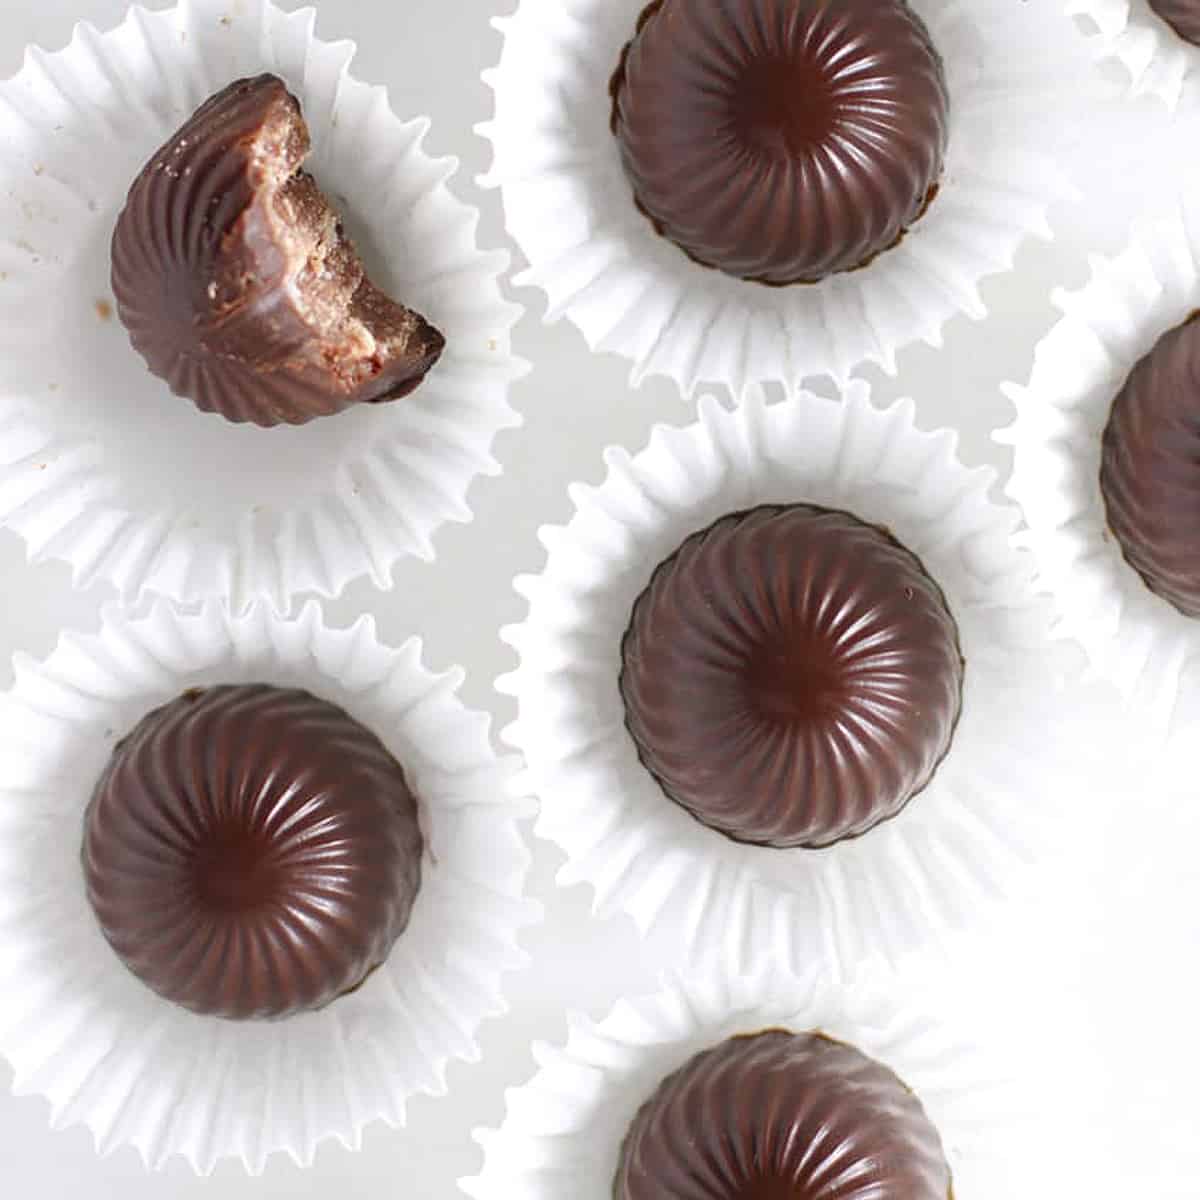
- To present them, put each chocolate in a mini paper cup liners, add to a box, and present your gift at room temperature within 48 hours.
Leave a Reply