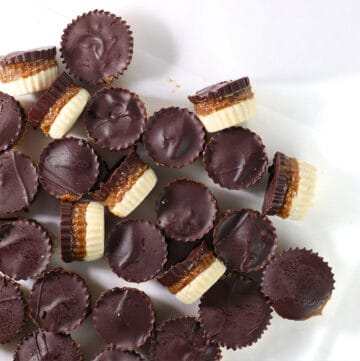
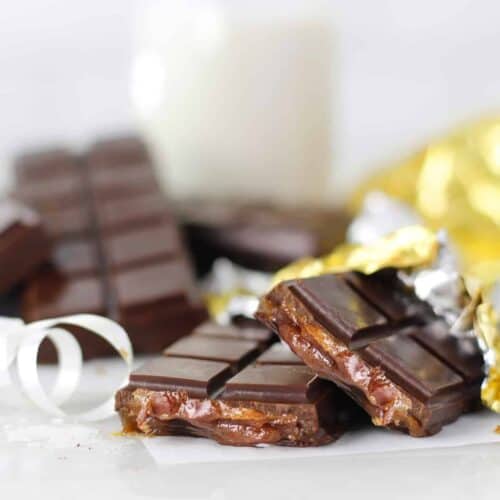
These healthy twix cups have a cookie base, melty caramel middle, and a snappy chocolate top. An easy-to-make treat made with 5 main ingredients that is healthier than a candy bar and ready in under half an hour.
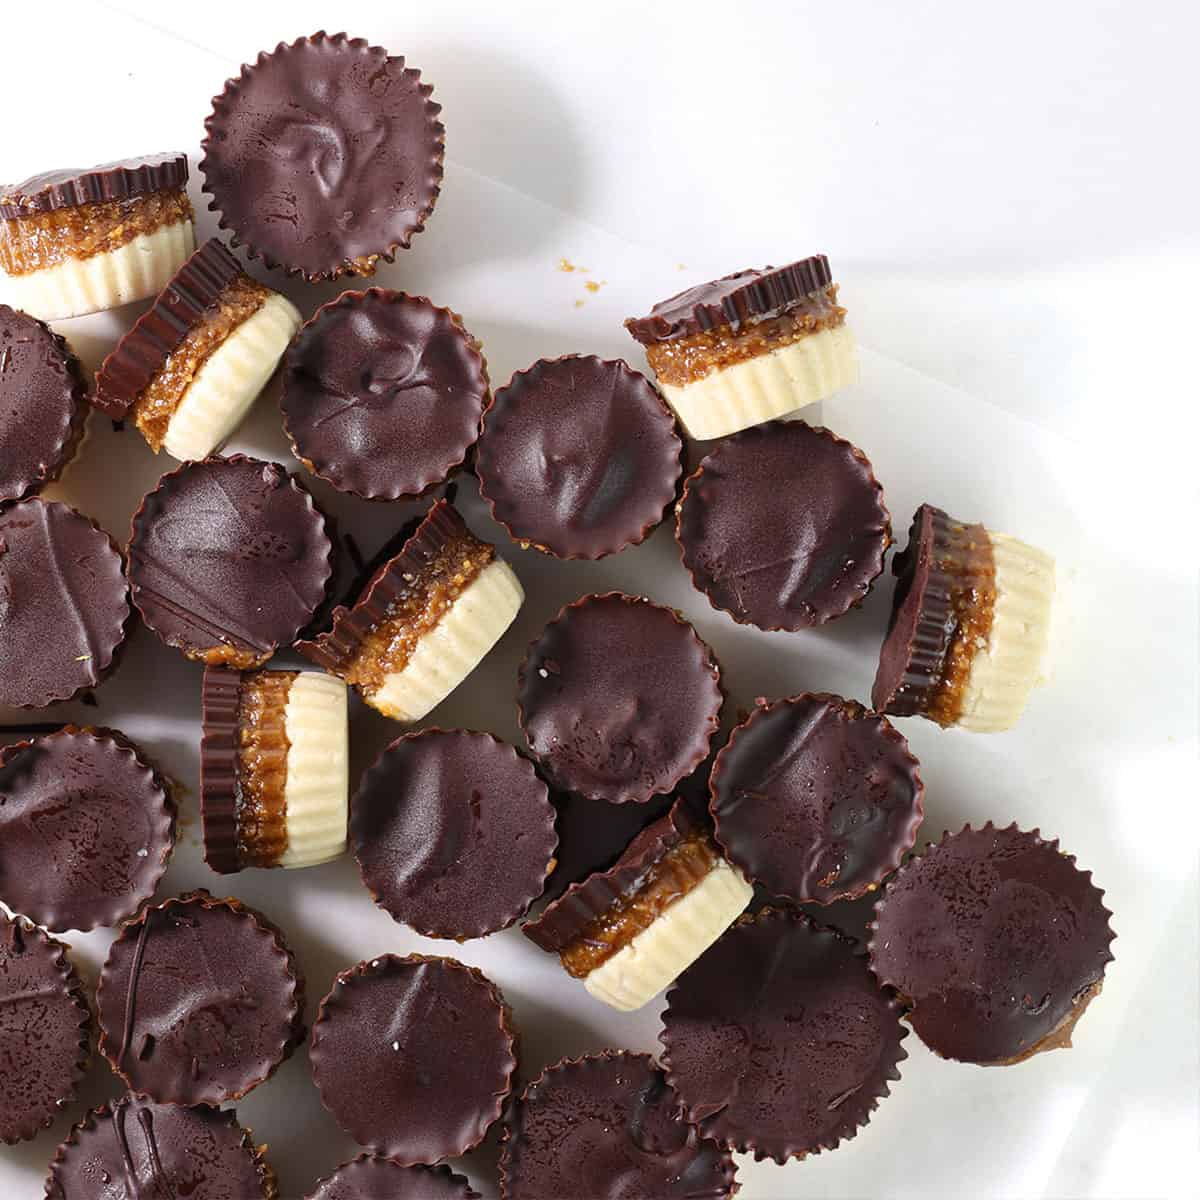
These healthy twix cups are bite-sized cups of gooey homemade caramel perfectly layered between a shortbread cookie and a chocolate top, just like the traditional Twix candy bar. Unlike a store-bought candy bar, these cups are nutritious, high in protein from the almond flour and peanut butter, and rich with the benefits of coconut oil.
In addition, like my no bake peanut butter oat cups, these are treats are vegan, dairy free and gluten free and are as easy to make as my chocolate rice cakes, another healthier homemade candy treat.
Jump to:
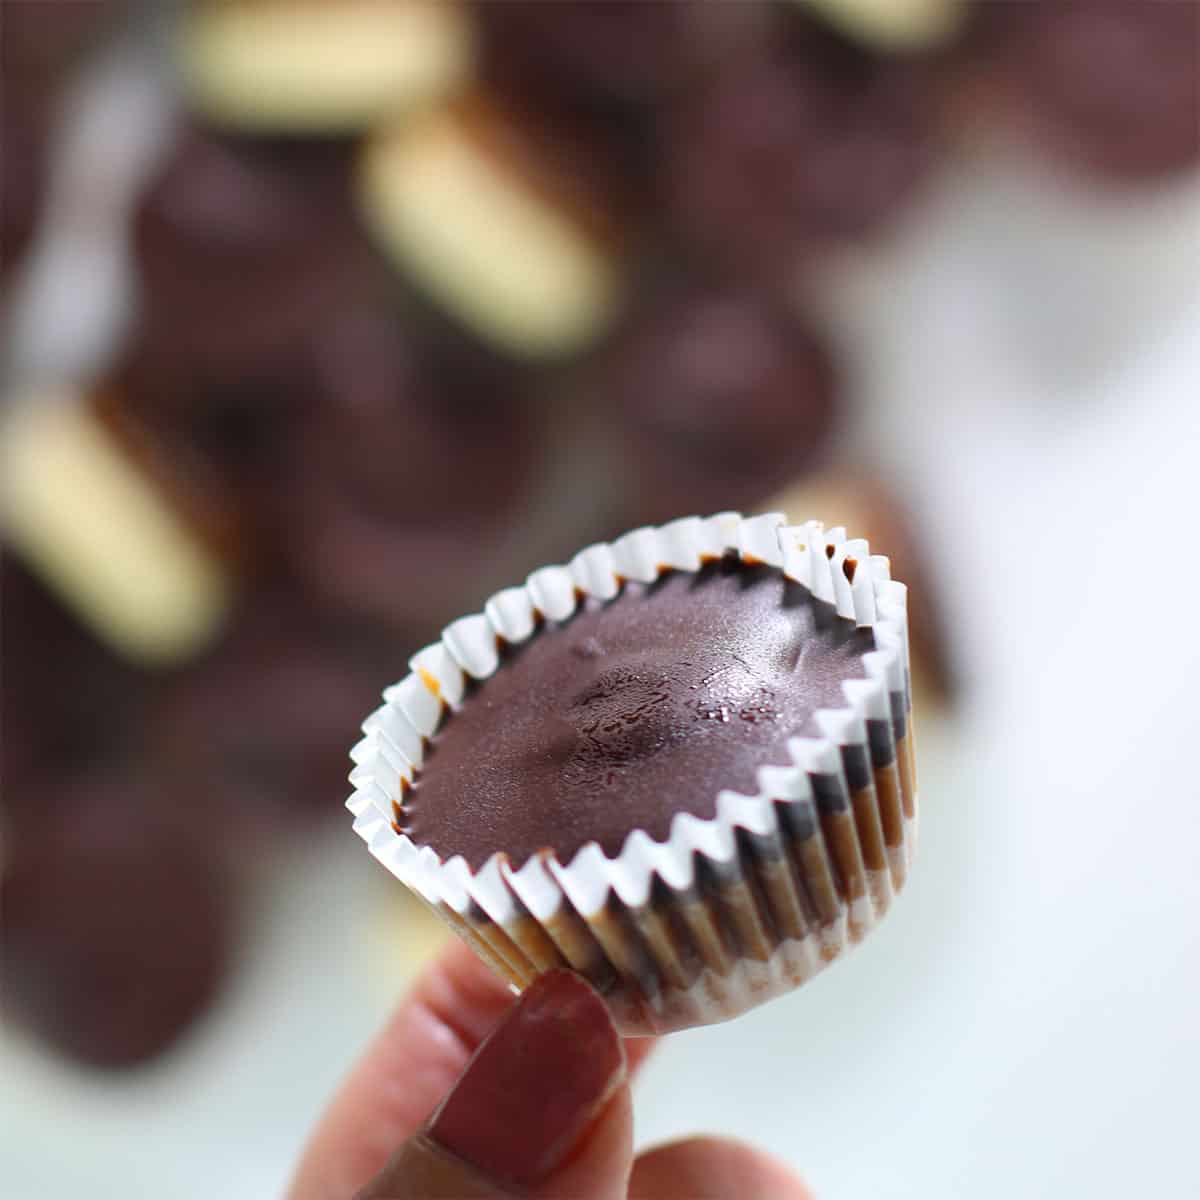
Why You'll Love These
Simple ingredients. These easy twix cups use only 5 basic ingredients.
Gluten-free and vegan. Almond flour and Coconut flour is naturally gluten-free, and a great low carb alternative to traditional flours. These twix bites are also dairy-free and even refined-sugar-free.
They are easy to make. Even with layers, because only 5 ingredients are involved, these cups come together with 30 minutes.
👉Want to Save This Recipe?
Ingredients You'll Need
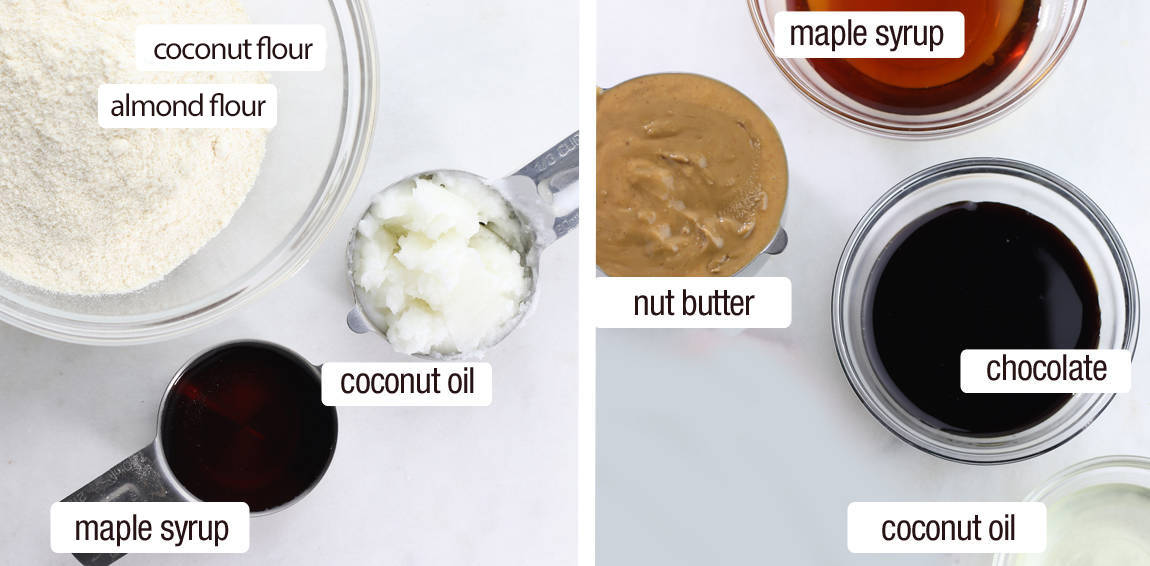
Almond flour & coconut flour : Coconut flour gives the base a melt-in-your-mouth texture, and almond flour makes it taste like a cookie. But you can use all almond flour if you prefer. You could also use oat flour instead of either, but you'll have to adjust the liquids.
Coconut oil : Use refined coconut oil to remove coconut flavor, or use olive oil. You can also use a mix of the two.
Maple syrup : Maple syrup is refined-sugar-free and holds many essential minerals. Or use brown sugar, but stir it into oil first to dissolve.
Chocolate : I use semi-sweet chocolate chips, typically Ghiradelli or Enjoylife, which are allergy-free.
Peanut butter : Any nut butter works.
Vanilla, salt : for flavor
See the recipe card at the bottom for full information on ingredients and quantities.
Steps to Make Twix Cups
For more detail, visit the complete and printable recipe at the bottom of this post, but here are general steps.
Step 1: To make the cookie crust:
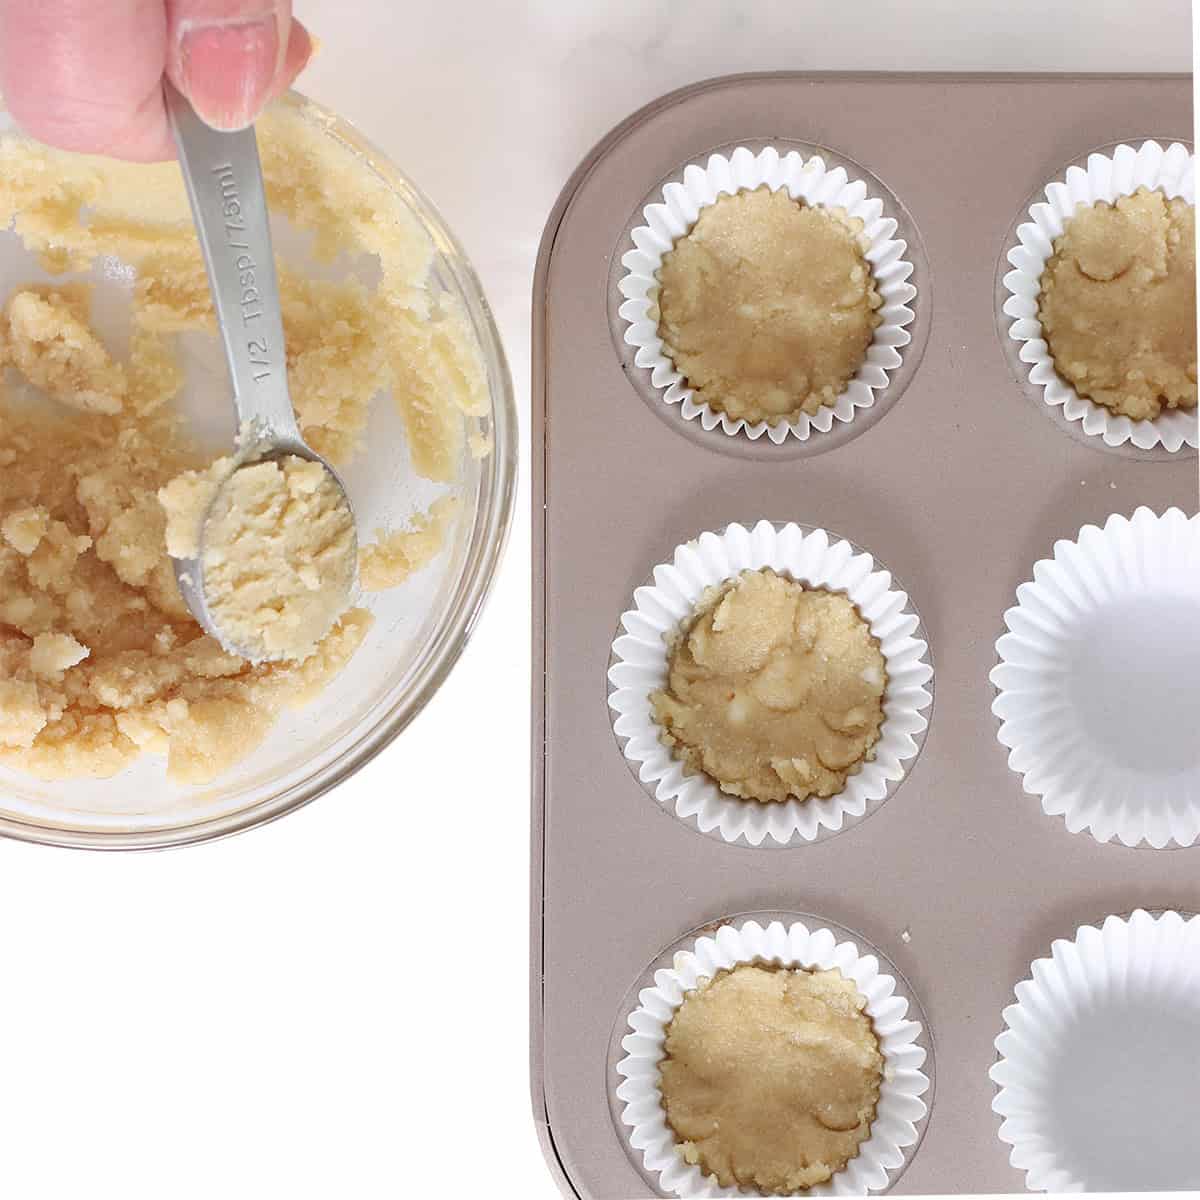
- Preheat the oven to 350F and line a mini cupcake pan with paper liners.
- In a small bowl, mix together both flours, coconut oil, maple syrup, vanilla, salt.
- Mix with a fork until dough is sticky but also crumbly. Press a ½ tablespoon into each mini cup.
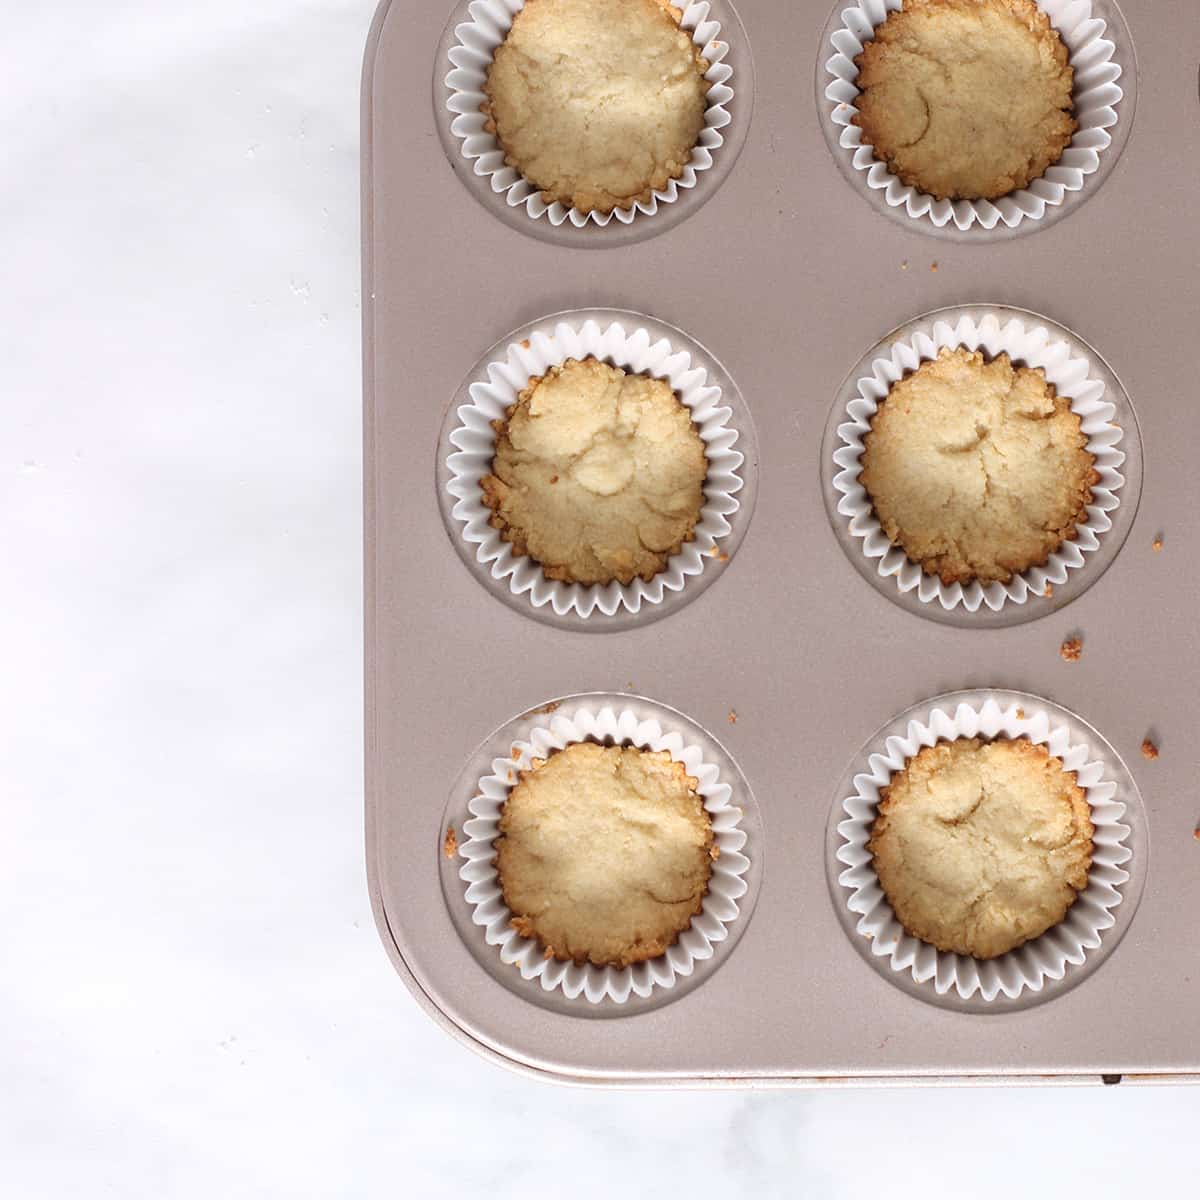
Bake for 8 minutes at 350 F or Freeze the crust for a no bake treat.
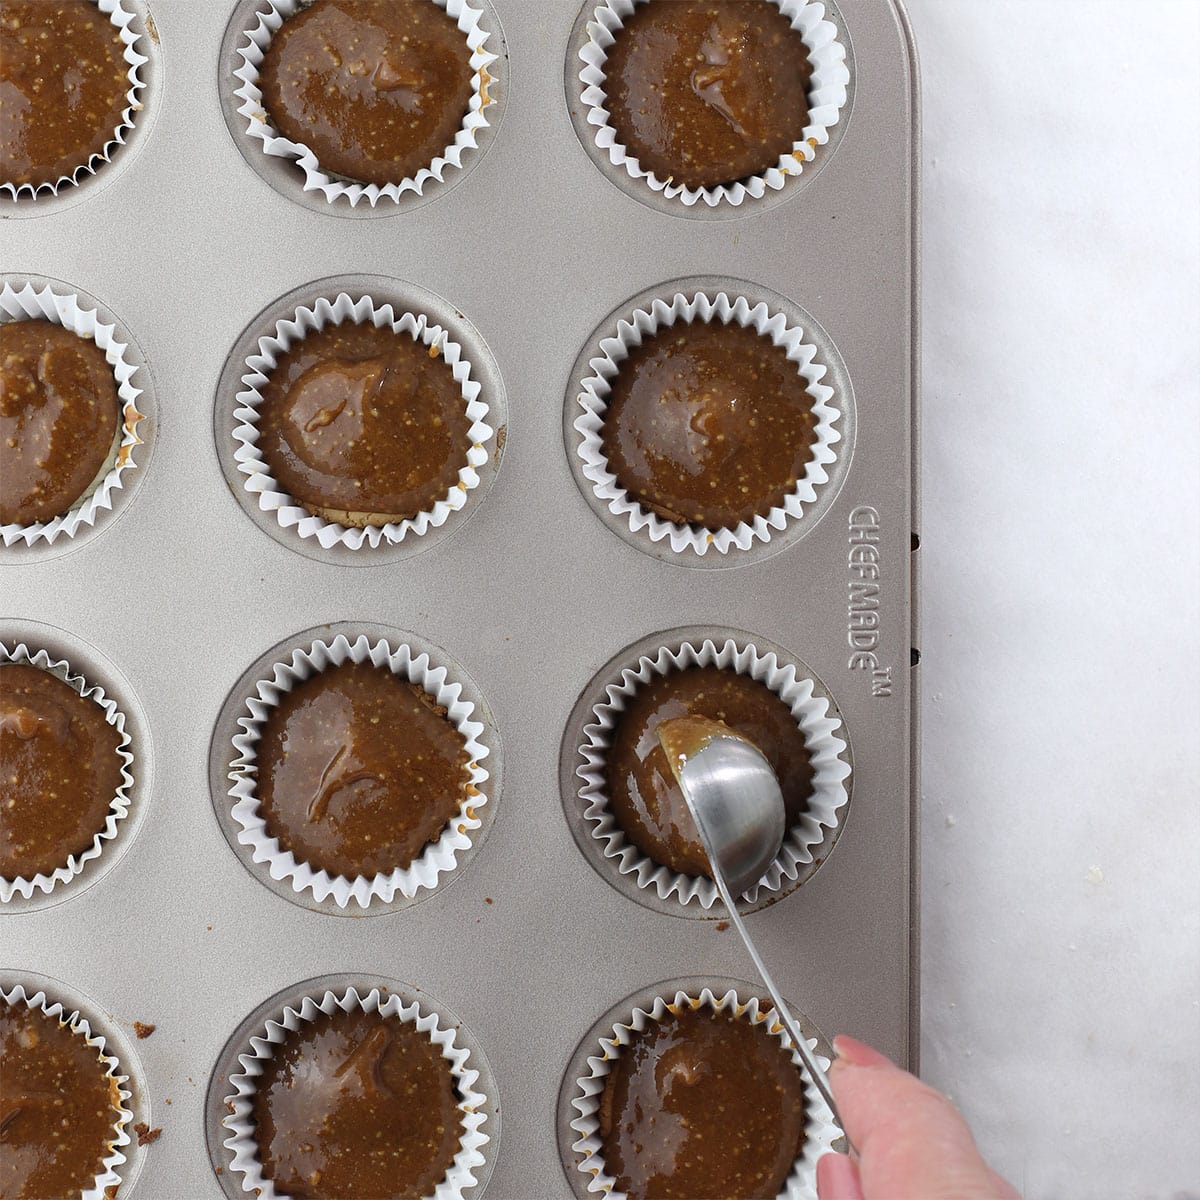
Step 2: Make caramel layer:
- Add the peanut butter, coconut oil, maple syrup, vanilla and salt to a heat-safe container (like a glass pyrex measuring cup) and microwave for 1 minute. Stir until smooth.
- Dollop ½ tablespoon of this healthy caramel on top of each baked crust.
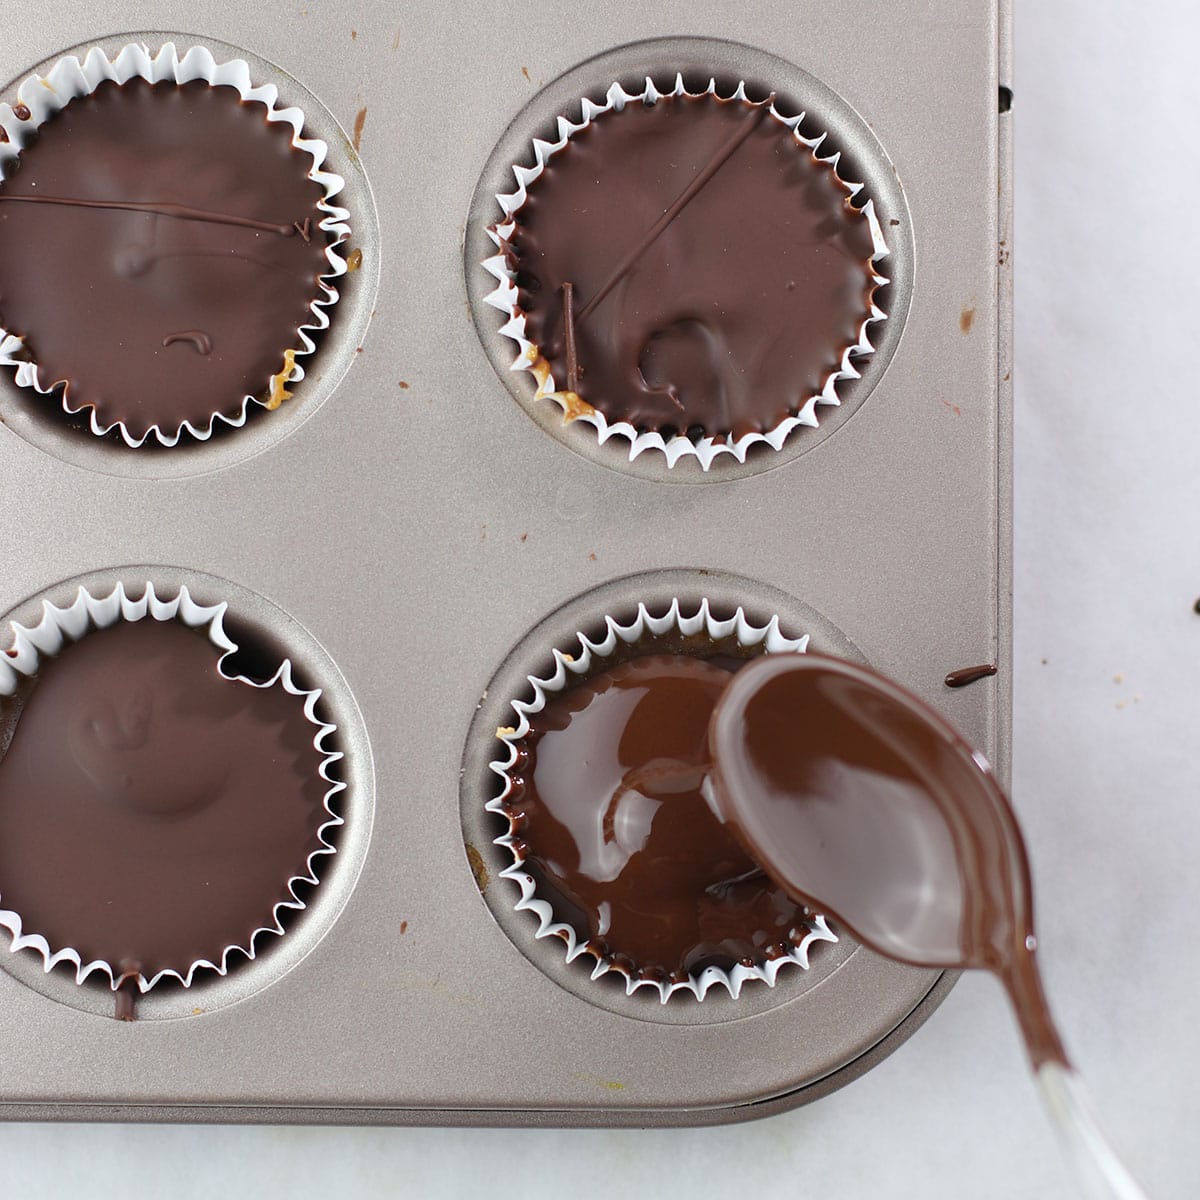
Step 3: Make chocolate layer:
- Melt the chocolate chips and coconut oil in the microwave for 60 seconds. Stir until all chips are melted.
- Spoon ½ tablespoon onto each caramel layer in each cup.
- Freeze or refrigerate the cups for 15 minutes until hardened.
Storage
Store Twix cups in an airtight container in the refrigerator for up to two weeks. Freeze for up to three months or longer if they aren't dried out.
Recipe Tips
1.This Twix cups recipe creates 24-28 twix bites.
2.If you want a thicker caramel layer, use date paste instead of maple syrup.
3. Use brown sugar or coconut sugar instead of maple syrup if you prefer but you might have to add another tablespoon of water or oil to reach pressable crust texture.
4. If you want to remove any trace of coconut flavor, use refined coconut oil or olive oil.
FAQS
You probably already know all about Twix, but here is a bit of detail just in case. A Twix bar is a candy bar made by Mars, Inc. It also has three layers, a biscuit and caramel layer, coated in chocolate. The ingredients are what you'd expect in a commercial candy bar.
Did you know a Twix bar is named for the word "betwix" or to fool? Well, we are fooling them, aren't we? With a healthy version that is grain-free, dairy-free and refined-sugar-free.
More Copycat Candy Recipes
If you tried this recipe or any other recipe on my website, please leave a 🌟 star rating and let me know how it went in the 📝 comments below. Thanks for visiting!
📖 Recipe
Healthy Twix Cups
Ingredients
Cookie Base
- 1 cup almond flour
- ¼ cup coconut flour
- ¼ cup coconut oil melted
- 3 tablespoon maple syrup
- 1 teaspoon vanilla
- pinch of salt
Caramel Layer
- ¾ cup peanut butter
- 2 tablespoon coconut oil
- ¼ cup maple syrup
- 1 teaspoon vanilla
- pinch salt
Chocolate Coating:
- 1 cup chocolate chips
- 2 tablespoon coconut oil
- flaked sea salt
👉Want to Save This Recipe?
Instructions
Prep
- Preheat the oven to 350F and line a mini cupcake pan with paper liners.
- For the crust only, melt the coconut oil before adding it to the flour. Put the coconut oil jar in a pot of just boiled water, or microwave the ¼ cup in a microwave-safe bowl for about 10 seconds.
Make Cookie Crust
- Add the ingredients to a bowl and mix up with a fork until dough is sticky but also crumbly. If needed, add a bit more oil or maple syrup to get the right texture. Press a ½ tablespoon into each mini cup.1 cup almond flour, ¼ cup coconut flour, ¼ cup coconut oil, 3 tablespoon maple syrup, 1 teaspoon vanilla, pinch of salt
- Bake for about 8 minutes until edges brown. Take pan out of the oven and cool.
- OR No Bake the crust - put the pan in the freezer for 10 minutes to harden while you make the caramel.
Make Caramel
- Add the ingredients to a heat-safe glass measuring cup such as a pyrex glass cup. The coconut oil can be added solid. Microwave for 1 minute. Stir until everything is melted.¾ cup peanut butter, 2 tablespoon coconut oil, ¼ cup maple syrup, pinch salt, 1 teaspoon vanilla
- Dollop ½ tablespoon of the mixture on to each crust.
Make Chocolate Top
- Melt the chocolate chips and coconut oil in the microwave in 60 seconds. Stir until all chips are melted. Spoon ½ tablespoon onto each caramel layer in each cup. Add flaky salt.1 cup chocolate chips, 2 tablespoon coconut oil, flaked sea salt
- Freeze the cups for 30-40 minutes until hardened.
- Store Twix cups in an airtight container in the refrigerator for up to two weeks.


Danielle says
Everyone loved these! Have made twice now! Thanks for a delicious recipe.
Dee Dine says
Thank you! So glad you liked them!
Abby says
Just what I am looking for. They also look so professional
Dee Dine says
Thank you so much! I'm so glad you enjoyed them, and I appreciate the kind comment.