

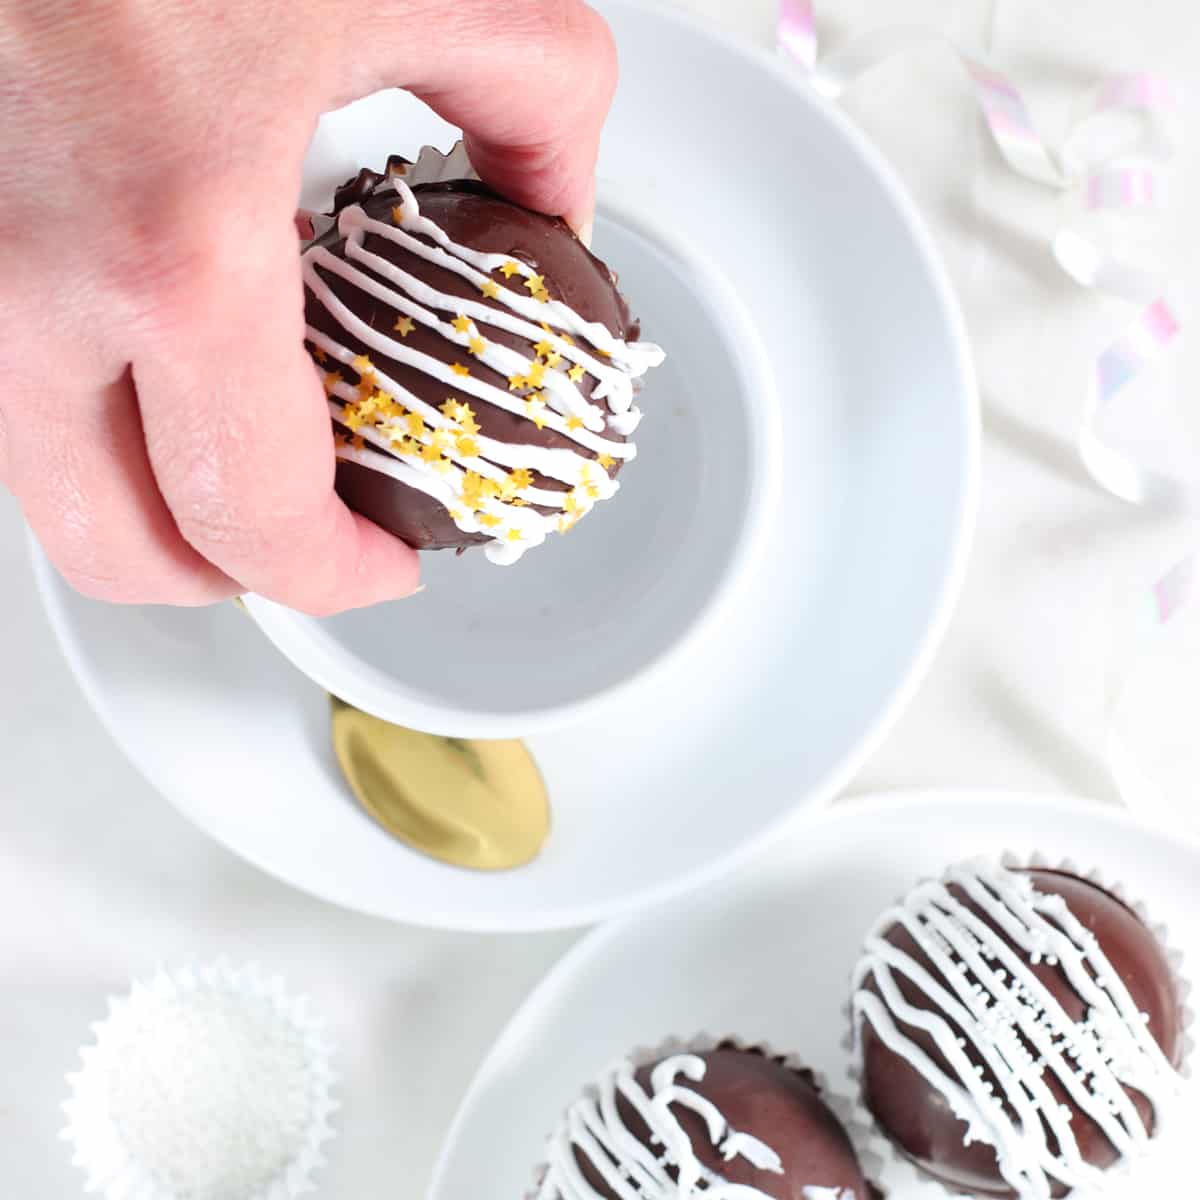
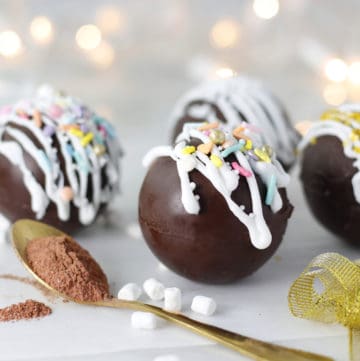
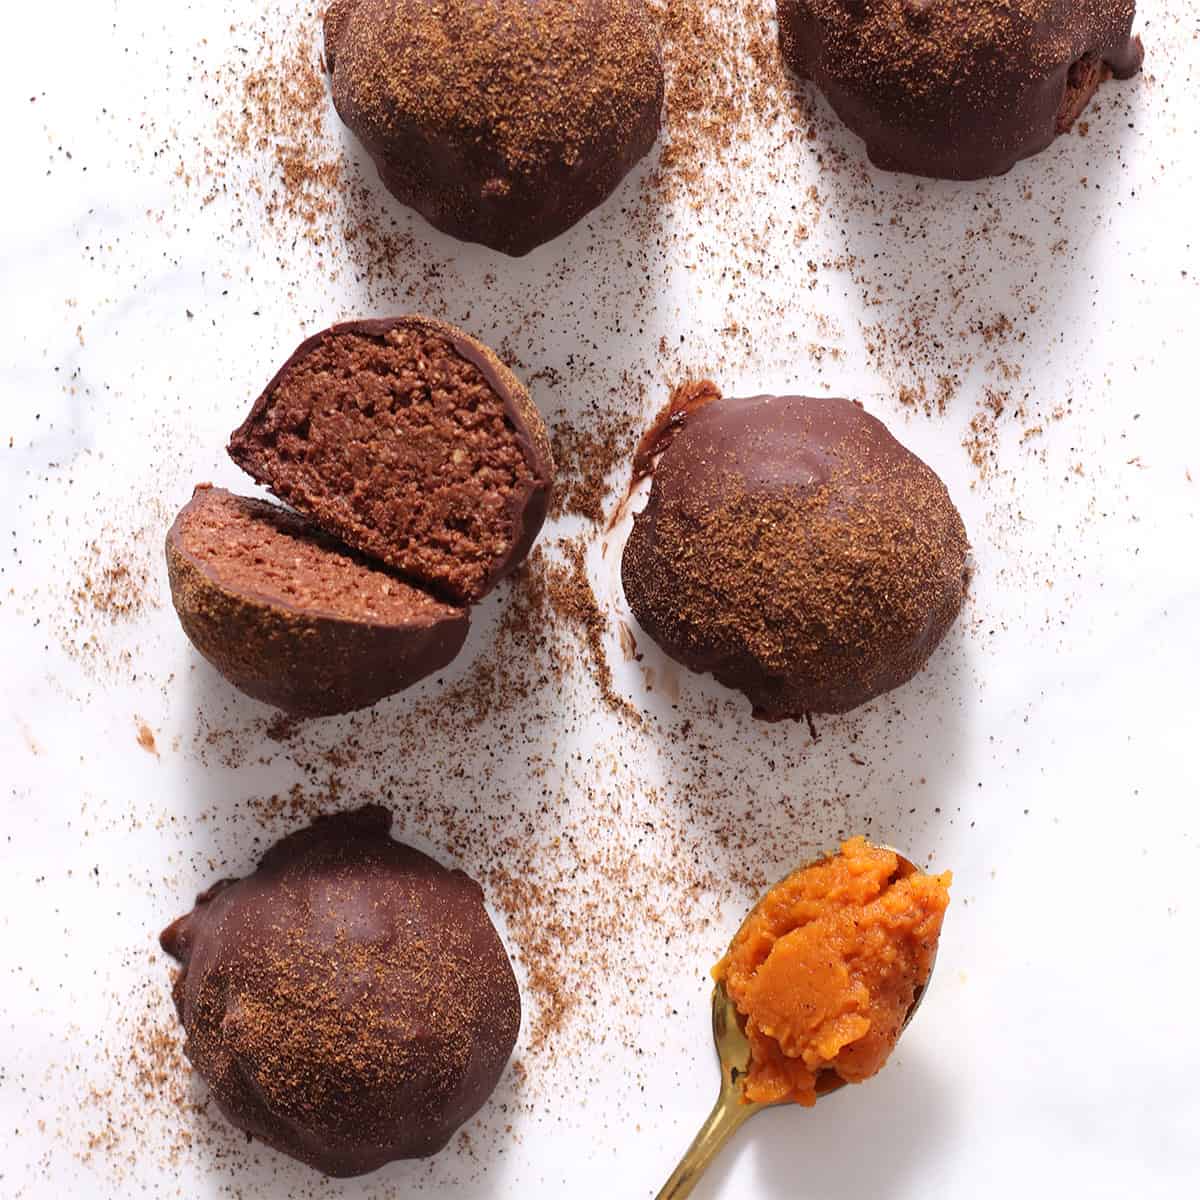
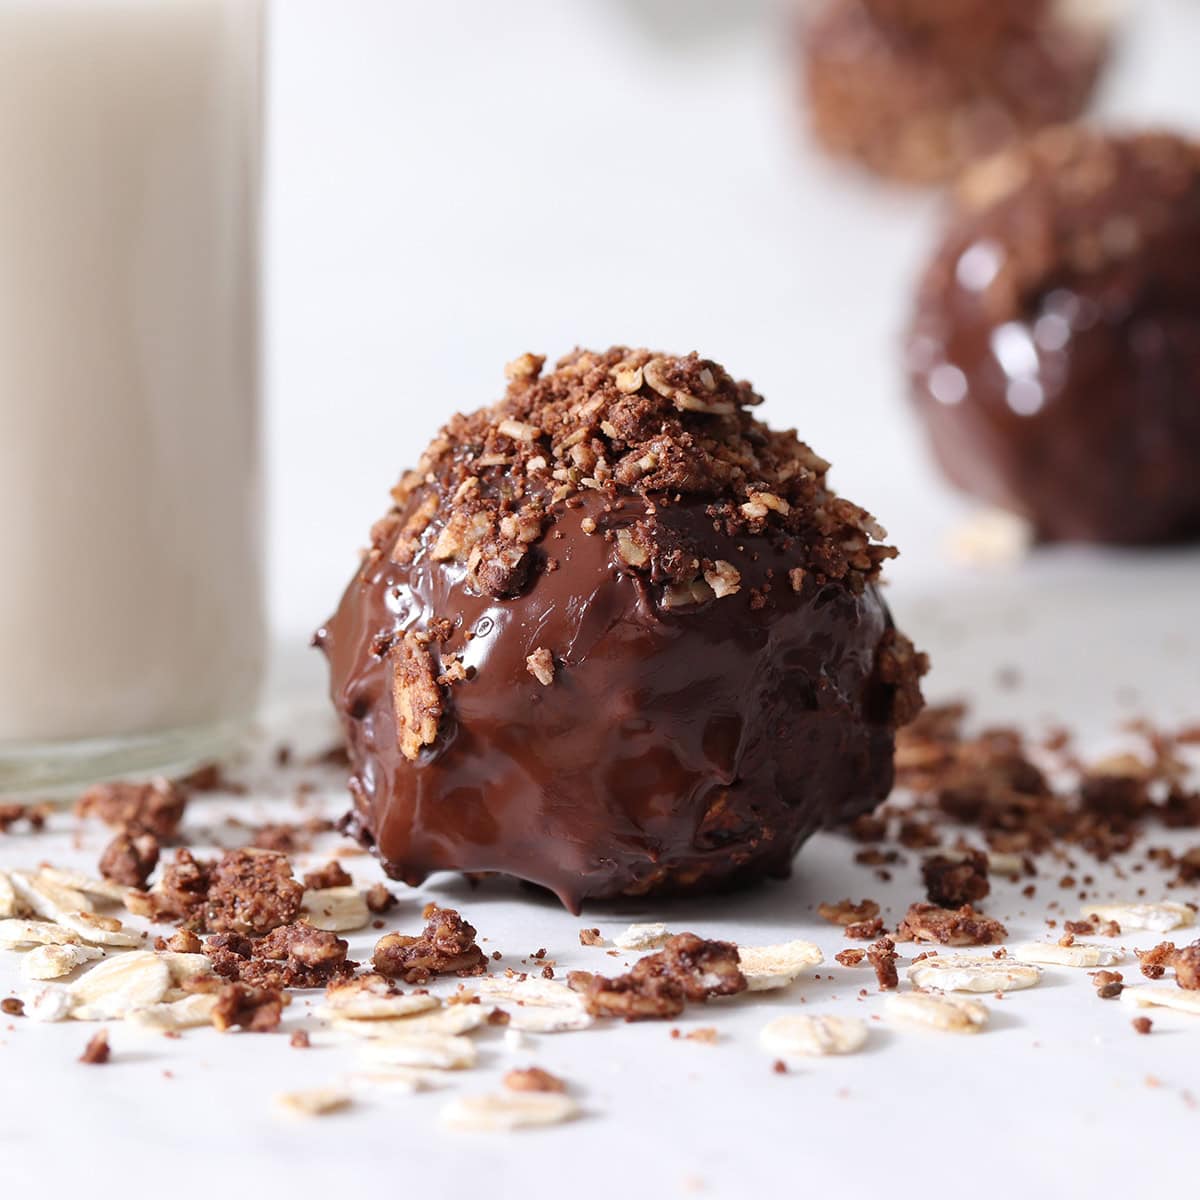
Homemade hot chocolate balls filled with a healthier homemade chocolate cocoa mix and marshmallows, in a crispy 1-ingredient chocolate shell. These are fun to make and decorate with icing and sprinkles.

Make homemade hot chocolate balls to turn a chilly day into a cozy time with a mug of hot chocolate that is healthier and fun to make. Just drop them in dairy-free milk and watch them explode! Mine are regular sized here, but I have a mini hot chocolate bombs recipe here.
These hot chocolate balls look complicated, but they are actually easy to make using a ball silicon mold. You can make them in about 25 minutes from start to finish and best of all you can customize what you put inside.
Jump to:
What are Hot Chocolate Balls?
Hot chocolate balls, often called hot cocoa bombs, are chocolate shells filled with powdered cocoa, marshmallows and other ingredients, that crack open and dissolve when you drop the ball into a mug of hot milk. If you are interested in an easy microwave-blender version, try my healthy homemade hot chocolate.
Ingredients
Cocoa Mix: You can buy a commercial mix (here's a vegan one!) or make your own by following my recipe detailed above and in the recipe card below.
Brown sugar: To sweeten your cocoa.
Cinnamon: The addition of this spice makes the chocolate flavor of your cocoa pop.
Vanilla: You can only add vanilla as a powder otherwise leave it out.
Chocolate Chips: For the shell. Look for 60% cacao or higher.
Optional Additions: Mini marshmallows, chocolate chips, nut butter, flavored chocolate, dried fruit, peppermint candy, cinnamon, cardamom, cayenne pepper and anise, sprinkles or edible golden stars. Add 1 tablespoon of mini marshmallows or chocolate chips, add 1 teaspoon nut butter, add ½ teaspoon of cinnamon and only a pinch of cardamom, anise or cayenne pepper.
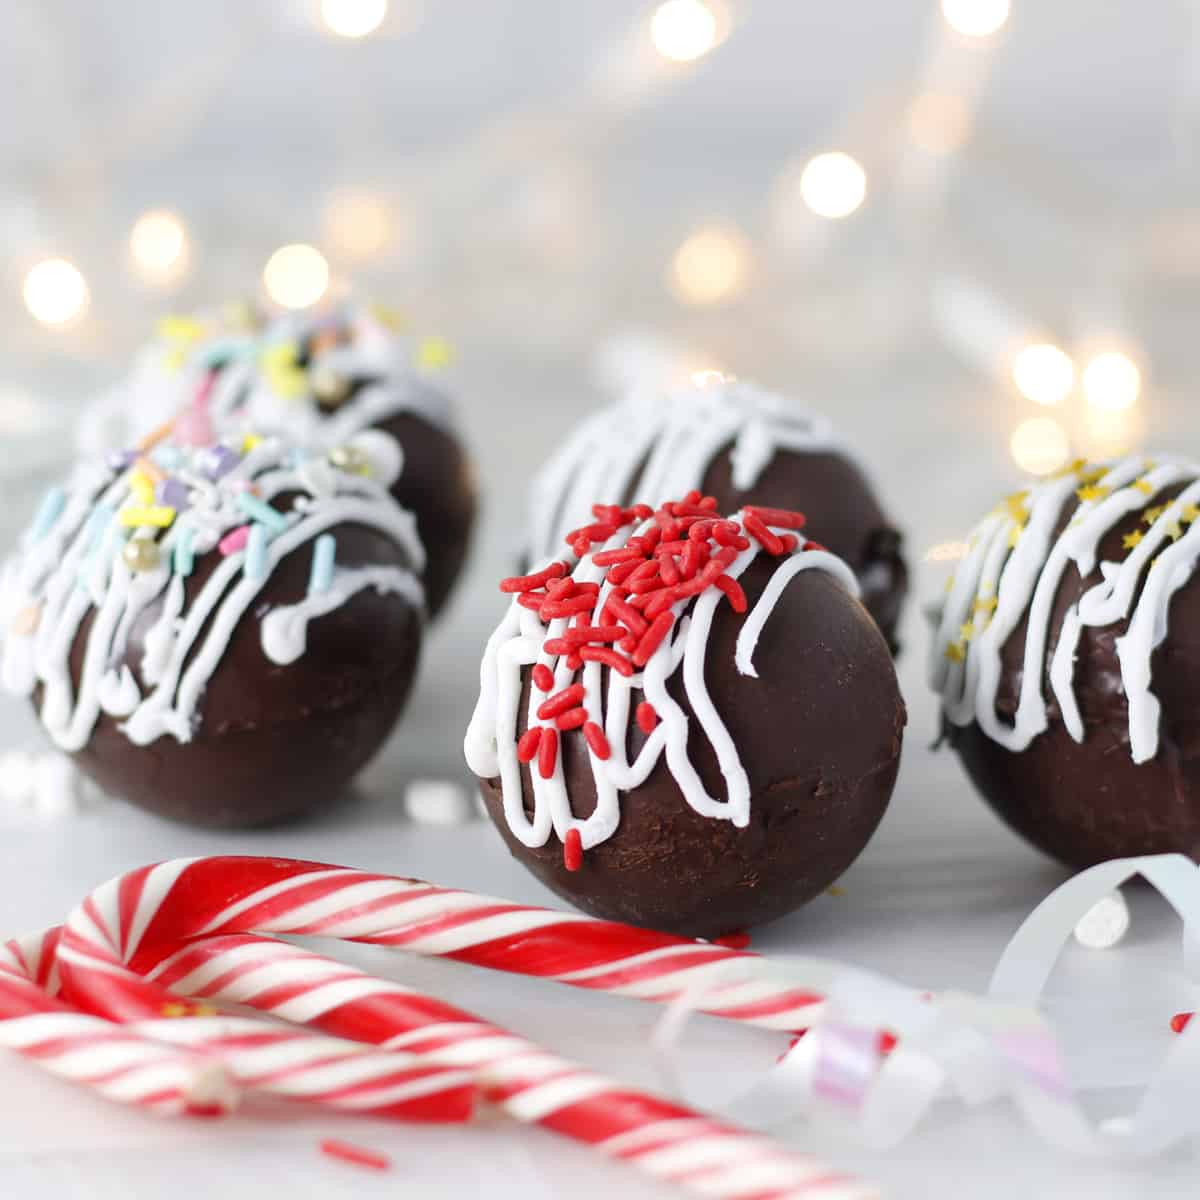
Extra Fancy: To decorate the outside of the shell, dust with gold power, drizzle with icing and sprinkle with stars.
See the recipe card at the bottom for full information on ingredients and quantities.
👉Want to Save This Recipe?
Step by Step Instructions
For more detail, visit the complete recipe at the bottom of this post, but here are general steps.
1. Melt Chocolate: Start by melting chocolate chips in the microwave. I put mine in a glass pyrex measuring cup and melt at 60 seconds at first. Stir and if all chips aren't melted, microwave again in 10 second intervals.
2. Fill Mold: Put 2 tablespoon of melted chocolate into each well of the mold, and use the back of a spoon or pastry paint brush to cover the whole well, leaving thick chocolate on the edges especially. Refrigerate the mold for 15 minutes, or allow to to set for 1 hour at room temperature. If you have time, avoid refrigeration as it can slightly dull the chocolate surface.
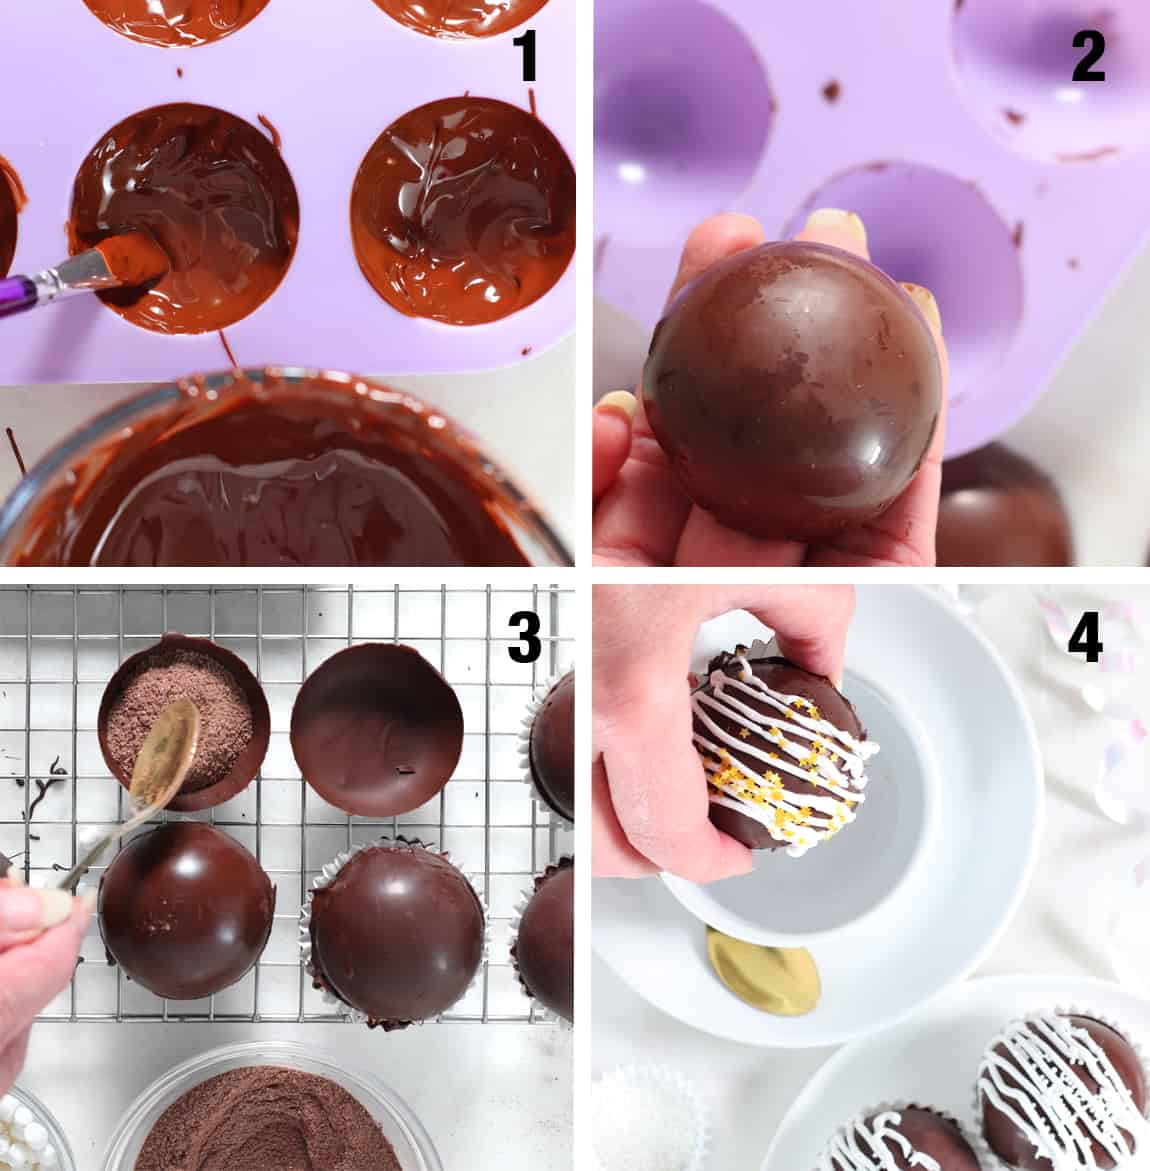
3. Extract Shells from Mold: Gently pry the chocolate shells out of the mold. Set them open on a cooling rack and fill half of them with at least with cocoa mix, any other choices as well as a few marshmallows.
4. Put Two Halves of Shells Together: Microwave a microwave-safe plate for 60-90 seconds and with clean, dry hands set one shell face down on plate for a second to melt the edge. Then place that half onto a filled half. Do this until all bombs are assembled.
5. Decorate & Use to Make Cocoa: Decorate, and then serve. To use, drop a single ball into a mug and pour hot milk over it, stirring to help dissolve. Or drop the ball into a steaming mug of milk.
Variations
Spicy Mayan chocolate cocoa. Add cayenne pepper, or a chocolate mocha hot chocolate by adding instant coffee granules.
Holiday decorations. To make the hot chocolate balls fun and festive, top with sprinkles to match your preferred holiday: pastel sprinkles for Easter, red and green for Christmas, and golden stars for a snowy weekend holiday.
FAQS
Hot chocolate balls keep at room temperature until use for about two weeks. They do not refrigerate or freeze well.
One of the least processed happens to be Starbucks brand, but there are others out there.
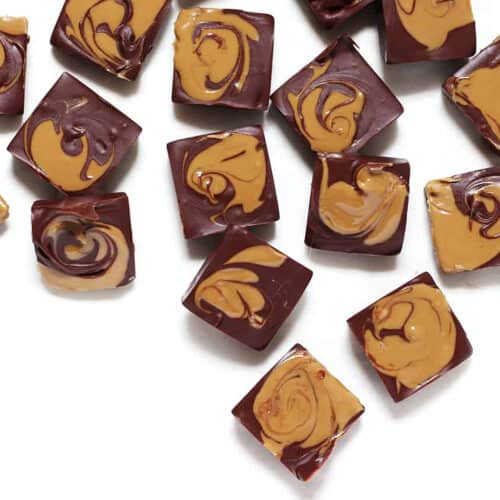
More Chocolate Treats

If you tried this recipe or any other recipe on my website, please leave a 🌟 star rating and let me know how it went in the 📝 comments below. Thanks for visiting!
📖 Recipe
Homemade Hot Chocolate Balls
Equipment
Ingredients
Hot Chocolate Balls
- 1 cup chocolate chips
- ⅔ cup cocoa mix (store bought or homemade)
Homemade Hot Chocolate Powder (optional)
- 1 cup unsweetened cocoa powder
- ⅓ cup brown sugar
- 2 tablespoon cinnamon
- 1 teaspoon vanilla powder
- pinch of salt
👉Want to Save This Recipe?
Instructions
- Mix together homemade hot cocoa if you are using this. Set aside.1 cup unsweetened cocoa powder, ⅓ cup brown sugar, 2 tablespoon cinnamon, 1 teaspoon vanilla powder, pinch of salt
- Melt Chocolate: Start by melting chocolate chips in the microwave. I put mine in a glass pyrex measuring cup and melt at 60 seconds at first. Stir and if all chips aren't melted, microwave again in 10 second intervals.1 cup chocolate chips
- Fill Mold: Put 2 tablespoon of melted chocolate into each well of the mold, and use the back of a spoon or pastry paint brush to cover the whole well, leaving thick chocolate on the edges especially. Refrigerate the mold for 15 minutes.
- Extract Shells from Mold: Gently pry the chocolate shells out of the mold. Set them open on a cooling rack and fill half of them with your selections. At least with 1 teaspoon of cocoa mix (homemade or store-bought) and a few marshmallows.⅔ cup cocoa mix (store bought or homemade)
- Fill & Put Two Halves of Shells Together: Microwave a microwave-safe plate for 30 seconds and with clean, dry hands set one shell face down on plate for a second to melt the edge. Then place that half onto a filled half. Do this until all bombs are assembled.
- Decorate, Eat, Save: Decorate, eat or keep at room temperature until use for about two weeks.

Leave a Reply