

These healthy veggie popsicles are full of fruit as well as cauliflower and are sweet and creamy, easy to make, and a refreshing treat for both kids and adults.
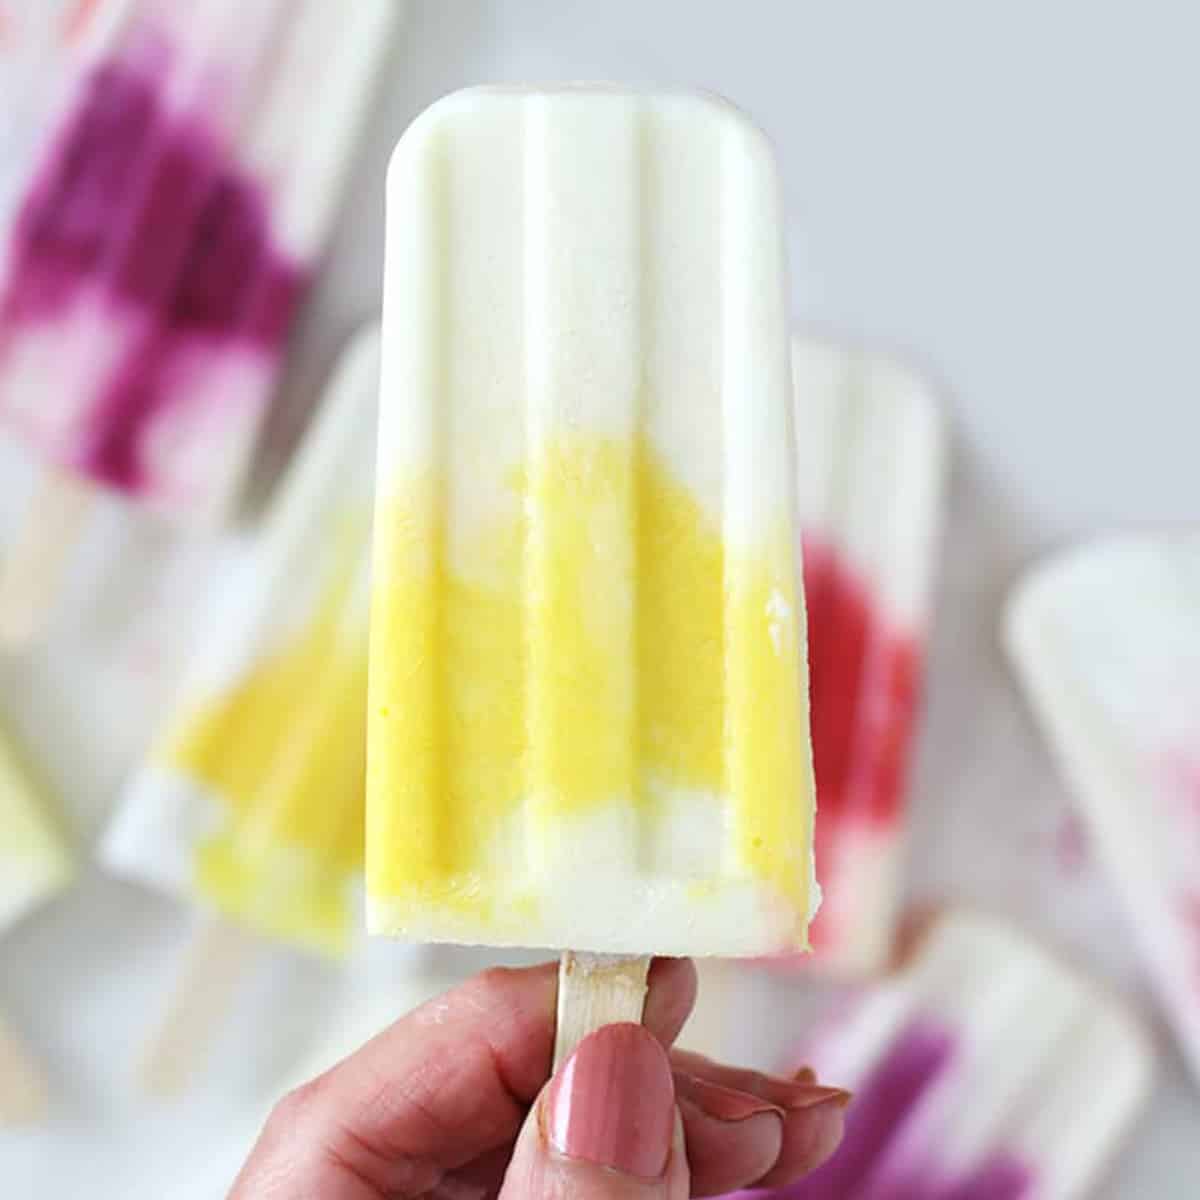
These homemade veggie popsicles are like a frosty summer snowstorm on a stick. Made colorful with ripples of fresh fruit and veggie purees, it's the perfect kid-friendly dessert with hidden veggies. If you like hidden veggie recipes, maybe consider my cauliflower ice cream, and my sweet potato ice cream.
Jump to:
Why You'll Love These
Taste better than commercial popsicles. These popsicles made with cauliflower and fruit have the same texture as the famous commercial treat sold by the Good Humor company decades ago, and even the commercial Dreamsicle, made with milk. Only my homemade creamsicles doesn't have additives and a fake flavor.
Nutrition in these veggie and fruit popsicles. Cauliflower is rich in vitamin C and folate, an essential mineral hard to come by in the Western diet. Cauliflower is low in sodium, free of cholesterol, and free of fat. And the base of these popsicles is made with coconut milk, another source of nutrition. Coconut milk contains the valued lauric acid noted for its positive effects on good cholesterol.
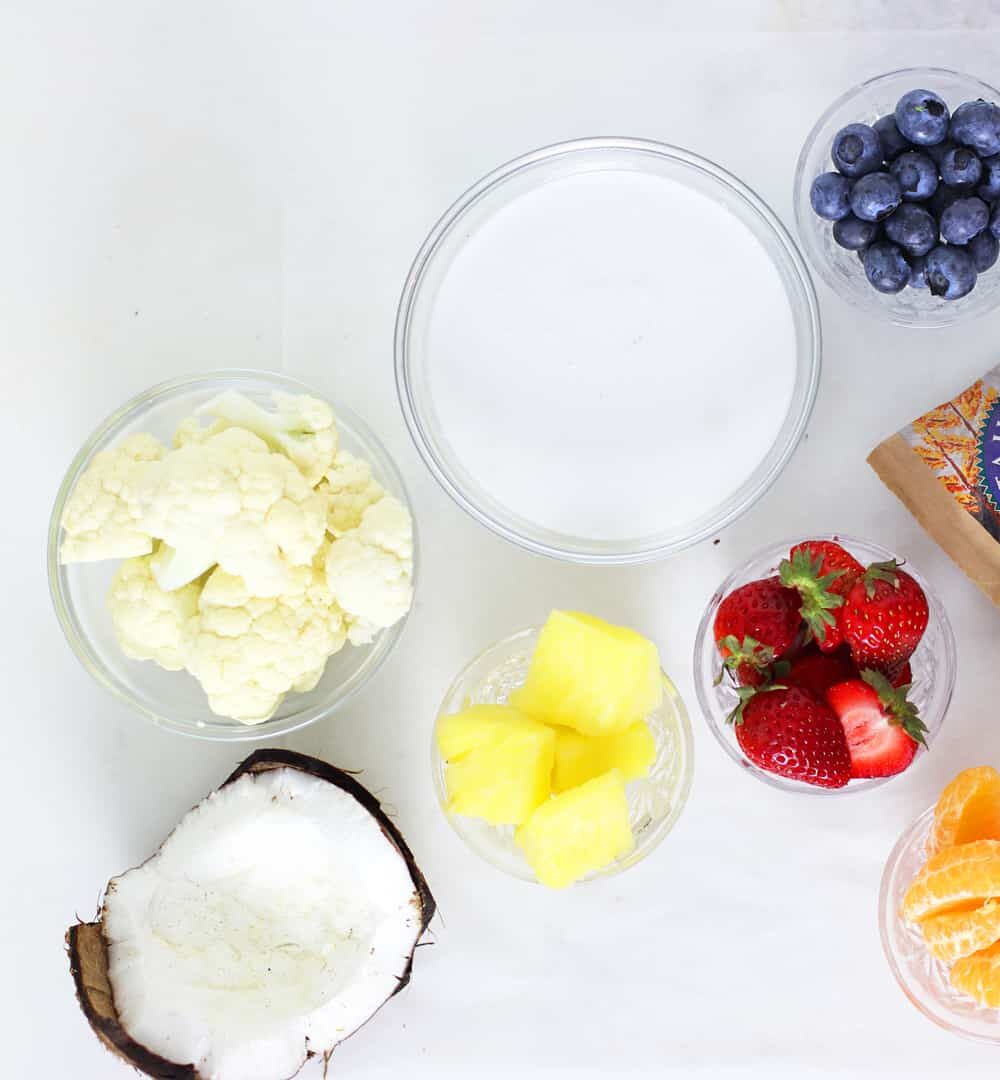
Ingredients
The white popsicle base includes:
- cauliflower, steamed, cooled and pureed
- coconut milk, full fat and from a can
- lime juice
- maple syrup
- vanilla extract
The rainbow flavors are created by fruit.
- Blueberries for purple.
- Strawberries for red.
- Mango for orange.
- Pineapple for yellow.
See the recipe card at the bottom for full information on ingredients and quantities.
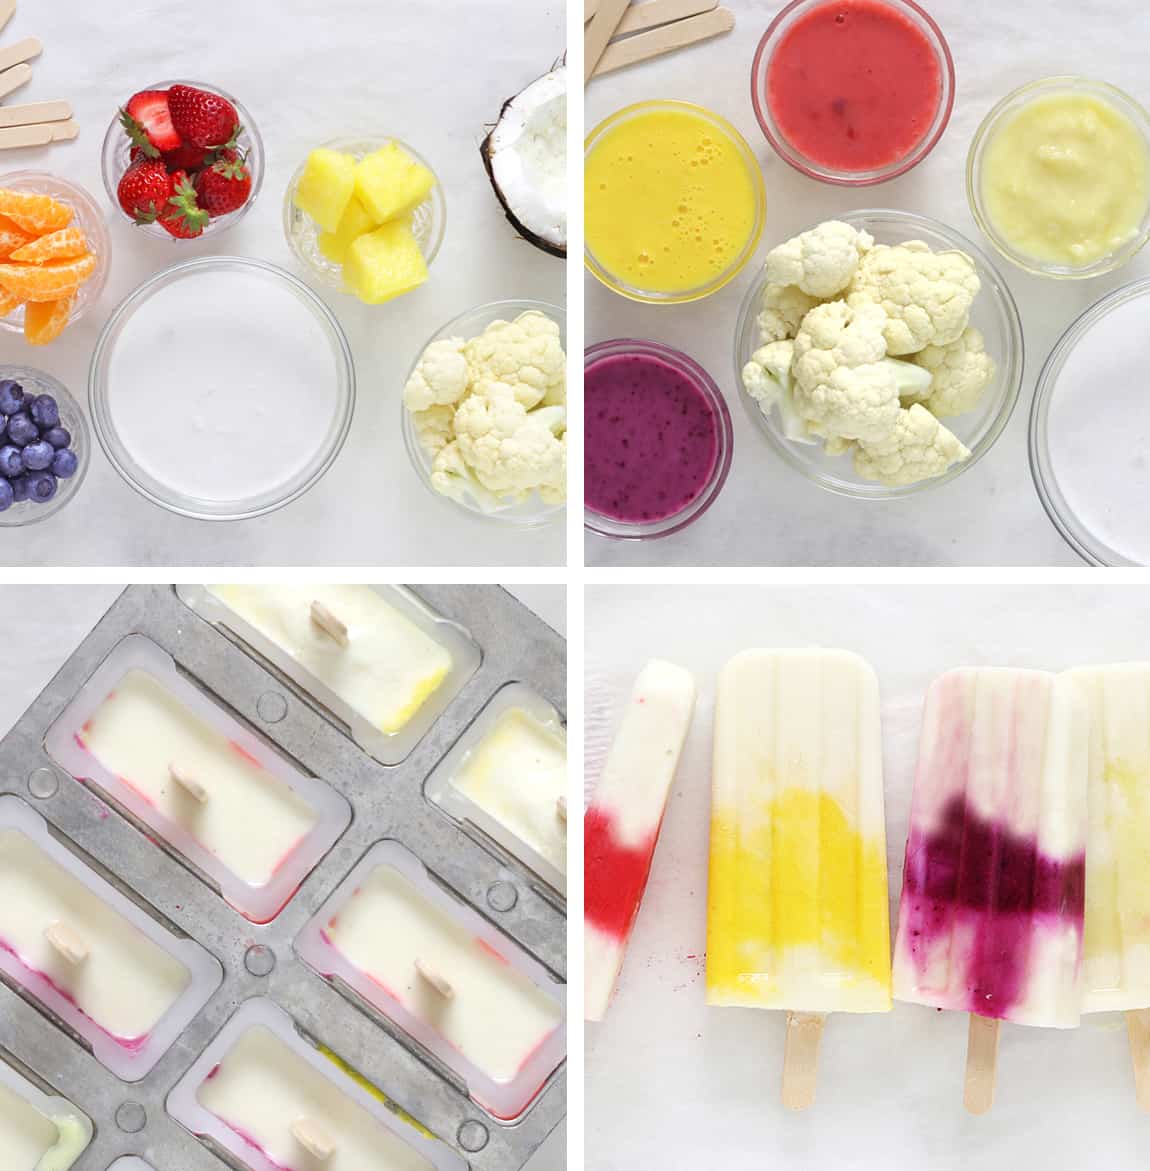
Steps to Make
For more detail, visit the complete and printable recipe at the bottom of this post, but here are general steps.
Step 1: Make sure the coconut milk cans are at room temperature. Measure out the fruits, set in little bowls and squish with a fork.
Step 2: Make the veggie popsicle base by blending cauliflower, coconut milk and other base ingredients and taste to add the maple syrup.
Step 3: Make the 4 rainbow purees. Add a few spoons of the white base to four different bowls, then add one squished fruit to each bowl, stir until combined. You should have four colors.
Step 4: Make the popsicles. Fill the popsicle mold by first filling one third with the base, then add a fruit, and finish off with the base.
Step 5: Freeze the popsicle mold for at least 6 hours. The longer, the easier the creamsicles will stay solid when you remove them from the mold.
Step 6: Remove popsicles from mold. Run hot water over the mold base to loosen the pops. Store the popsicles in the freezer.
👉Want to Save This Recipe?
Storage
Store these popsicles in the freezer in a sealed container. They can last for 2 months before drying out.
Recipe Tips
Cook the cauliflower: It's important to be sure the base is creamy so it is best to over-cook the cauliflower. I microwaved mine but you can boil it in water as well. If you boil it, let it boil until soft. Strain, allow it to cool, then press out moisture between two paper towels. That way you won't have icy popsicles from too much water.
Leave fruit puree chunks: You can use a fork to press the fruit into a puree. I have a mini blender jar so I was able to blend it creamy, but chunky is fine too.
How to work with canned coconut milk: Have you ever worked with canned full fat milk? It's magic. You find it at grocery stores, sometimes in baking, sometimes in the cultural food aisle, or just online. It's a great ingredient because it can replace heavy dairy cream as a creamy liquid ingredient.
To use it in this recipe, the can should be at room temperature. Shake it up and open the can. If the fat has separated from the liquid, pour both solids and liquids in a pan and heat until creamy but allow it to cool before blending for popsicle base.
More Hidden Veggie Desserts
If you tried this recipe or any other recipe on my website, please leave a 🌟 star rating and let me know how it went in the 📝 comments below. Thanks for visiting!
📖 Recipe

Veggie Popsicles (Veggie and Fruit)
Ingredients
white creamsicle base
- 1 cup cauliflower, steamed and cooled
- 1 cup full-fat coconut milk
- ⅔ cup lime juice
- 1 tablespoon maple syrup
- 1 teaspoon vanilla extract
blueberry puree
- 2 tablespoon base
- 2 tablespoon crushed blueberries
strawberry puree
- 2 tablespoon base
- 2 tablespoon strawberries thawed or fresh
mango puree
- 2 tablespoon base
- 2 tablespoon mango thawed or fresh
pineapple puree
- 2 tablespoon base
- 2 tablespoon pineapple thawed or fresh
👉Want to Save This Recipe?
Instructions
Prep
- Open the room temperature coconut milk cans. If the fat has separated from the liquid, pour in a sauce pan, heat and stir to create a creamy texture. Let the mixture cool while you prepare the fruits.
- Measure out the fruits, set in little bowls and squish with a fork.
Make base
- Put all ingredients in a blender, and process until creamy. You can taste and if it needs to be sweeter, add a tablespoon or more of maple syrup if you'd like.1 cup cauliflower, steamed and cooled, 1 cup full-fat coconut milk, ⅔ cup lime juice, 1 tablespoon maple syrup, 1 teaspoon vanilla extract
Make purees
- Add 2 tablespoons of the white base to each fruit/veggie bowl. Stir with a fork until the mixture is fairly combined. You can add a teaspoon more of the white popsicle base any mixture seems too dry.2 tablespoon crushed blueberries, 2 tablespoon strawberries, 2 tablespoon mango, 2 tablespoon pineapple
Make creamsicles
- Pour the mixture into each popsicle well, filling only ⅓ of the way.
- Spoon 2 tablespoons of each color into two wells.
- Fill each well to the top with the white base.
- Freeze the popsicle mold for at least 6 hours. The longer you freeze, the easier it will be to keep the creamsicles solid when you remove them from the mold.
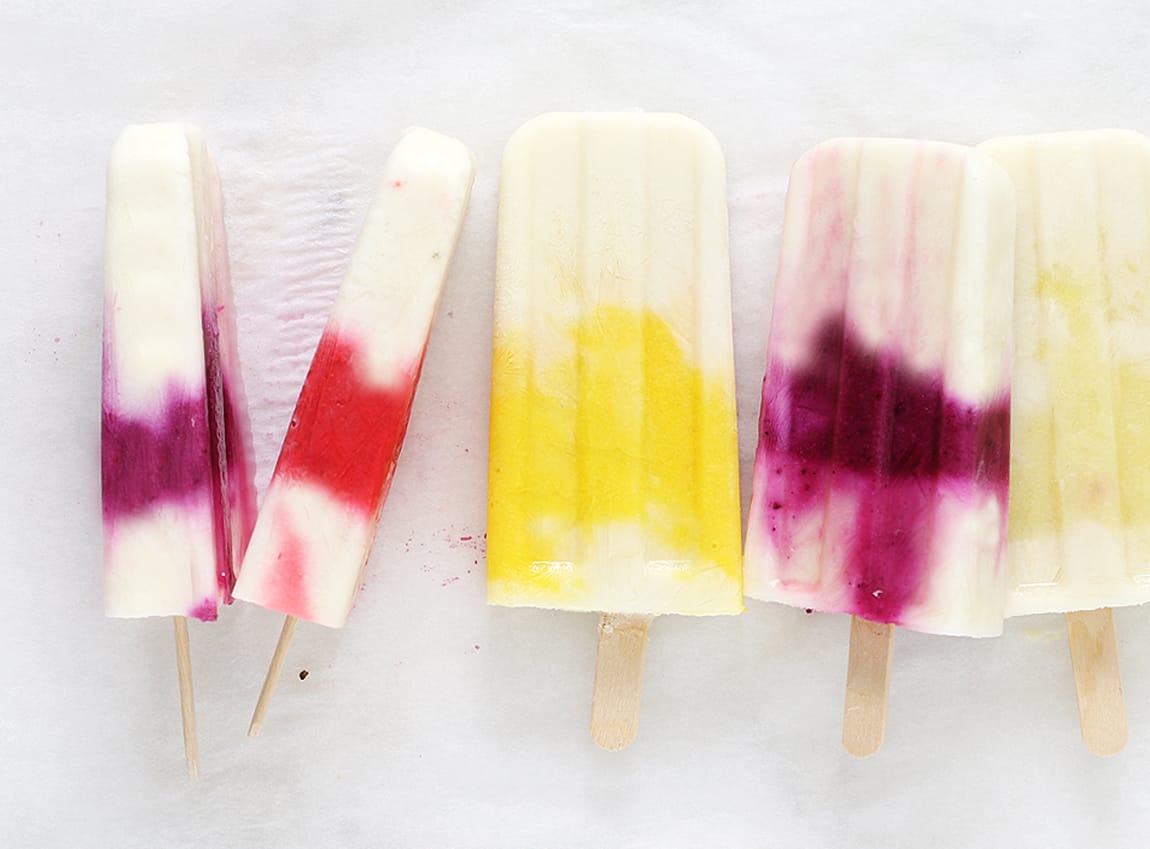
Remove creamsicles
- Line a cookie tray with parchment paper and set it in the freezer.
- Dip the mold base into hot water either tipping under a faucet or dipping into a large bowl. It's a process. You'll have to dip and tug several times.
- As soon as you release each popsicle, lay it on the tray in the freezer.
Storage
- Store the creamsicles for 2 months in a sealed container in the freezer.
Leave a Reply