

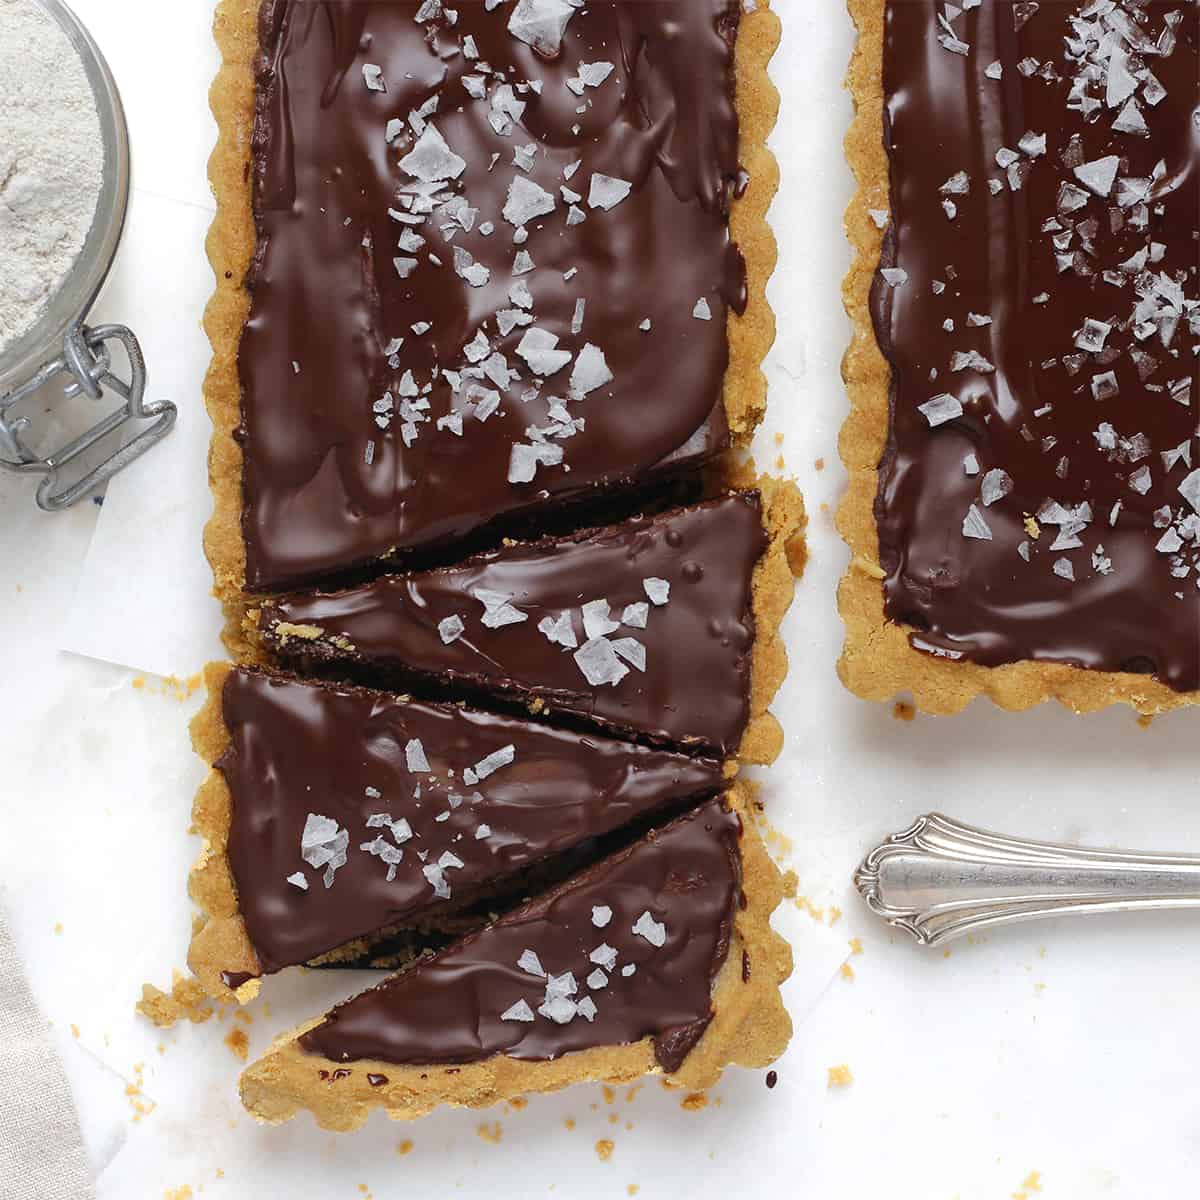
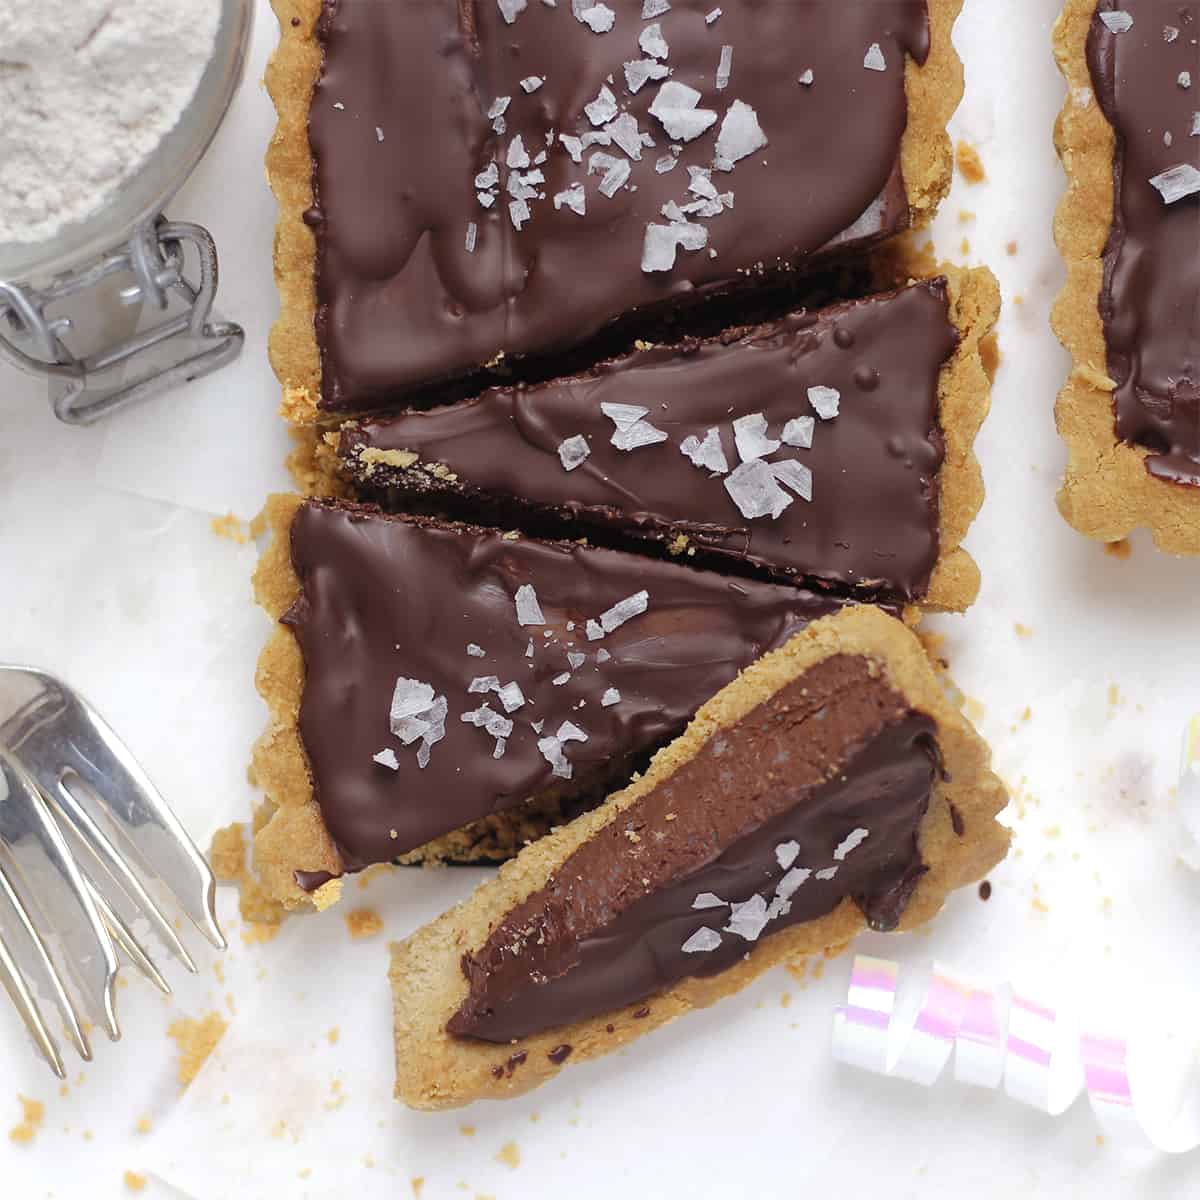
A salted chocolate tart with a shortbread crust that melts in your mouth, and a fudgy filling that takes two main ingredients and two minutes! Dairy-free and make it in a tart pan or a regular pie pan.
This salted chocolate tart is a wonderful invention - no bake, full of nutrition, familiar ingredients, and not many recipe steps. Like many of my recipes, this dessert is made from a few basic simple ingredients, flour, coconut milk and chocolate. You stir up the crust, press it in. Stir up the filling, pour it in. Chill and eat.
Why You'll Love This
Such an easy chocolate tart. The crust is quickly baked, and the filling is no bake. Use coconut milk to make it dairy free.
Wholesome and delicious. The tart is made of protein-rich almond flour, and the chocolate filling just coconut milk and dark chocolate. A decadent tart perfect for a party.
Make ahead and store. Make the tart 2 days in advance or freeze it for longer, so the perfect dessert for the holidays.
Ingredients
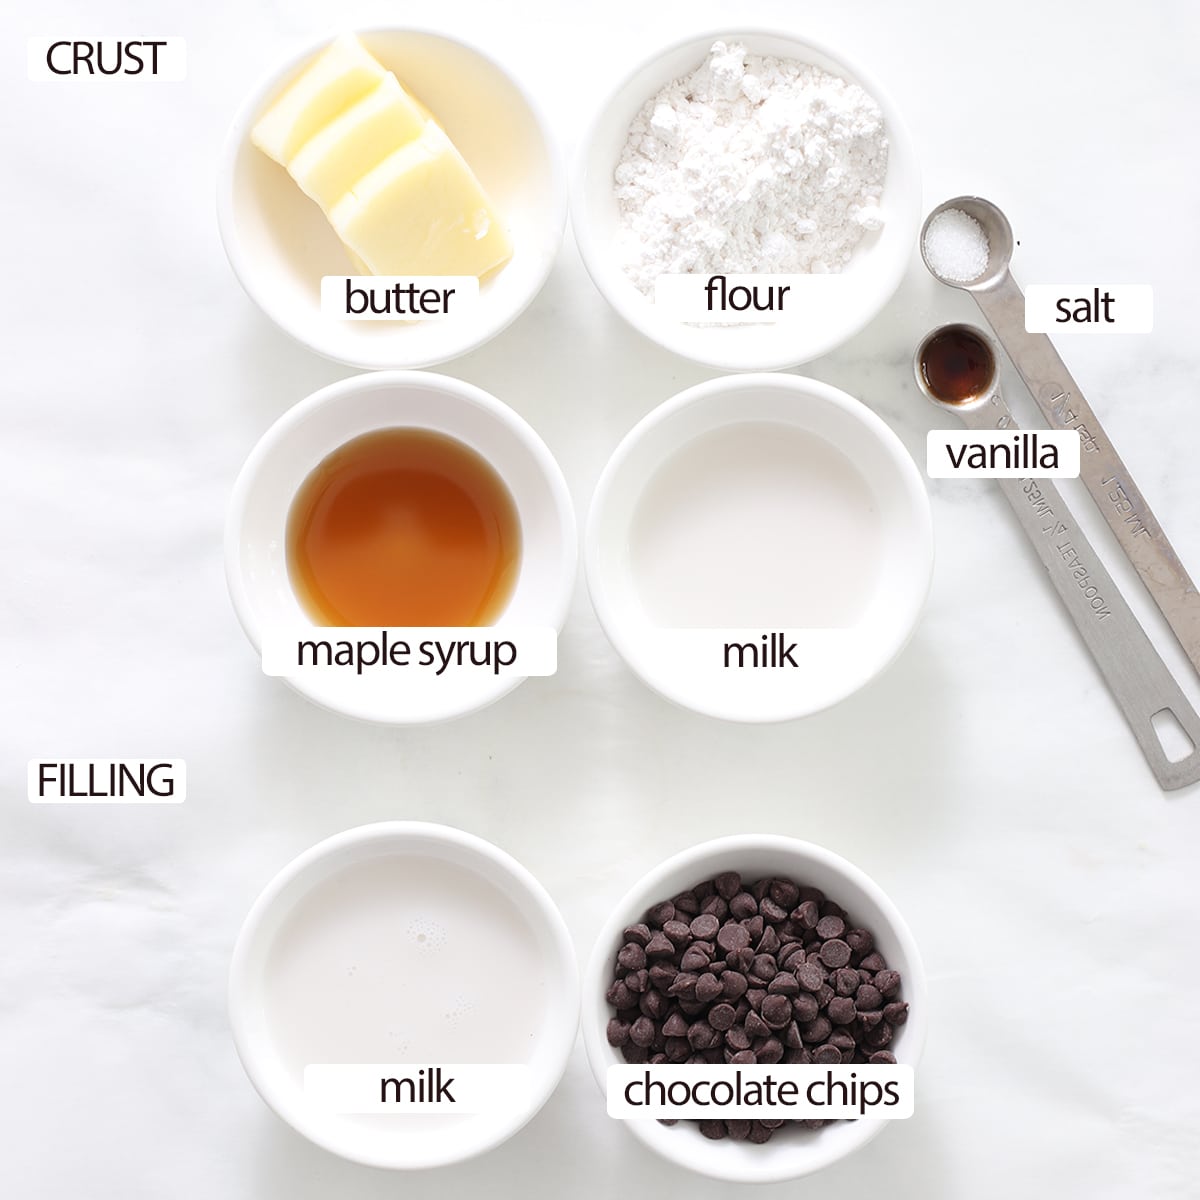
For the Crust
- flour - almond flour and oat flour. These two flours provide structure, healthy fats and a cookie-like flavor to the crust.
- milk
- butter
- maple syrup
- vanilla
For the Filling
- coconut milk, canned
- chocolate chips
- salt
See the recipe card at the bottom for full information on ingredients and quantities.
Step by Step Instructions
For more detail, visit the complete and printable recipe at the bottom of this post, but here are general steps.
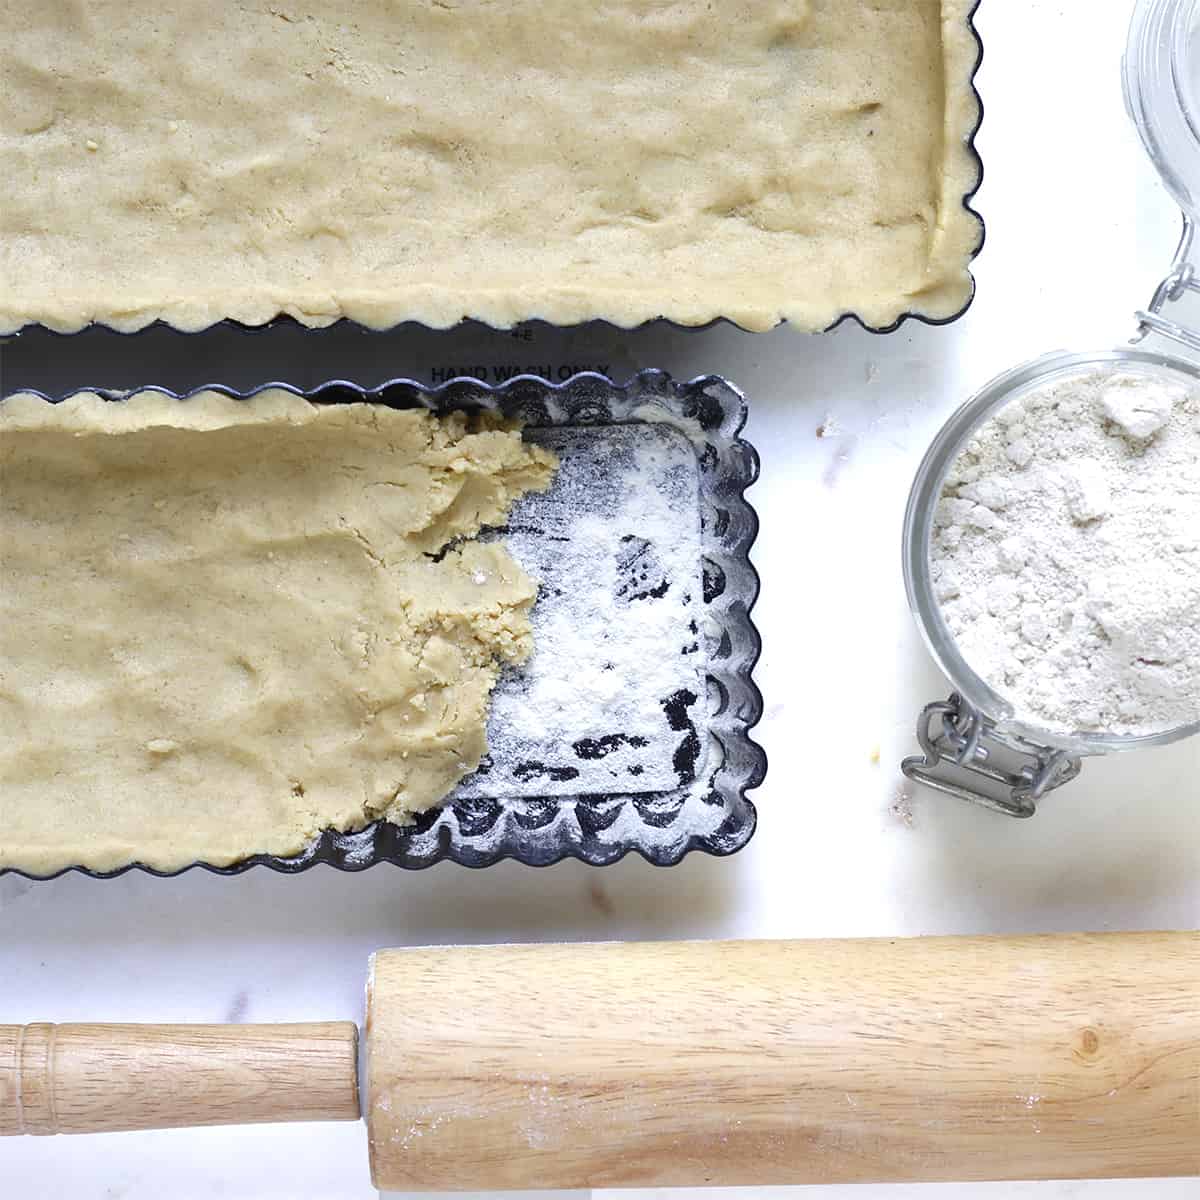
Step 1. Grease and dust the pan with flour. Make the crust by combining crust ingredients in a food processor or blender or mixer. Press it into the pan and bake for 12-18 minutes, then set aside to cool, removing from pan once cool enough to handle.
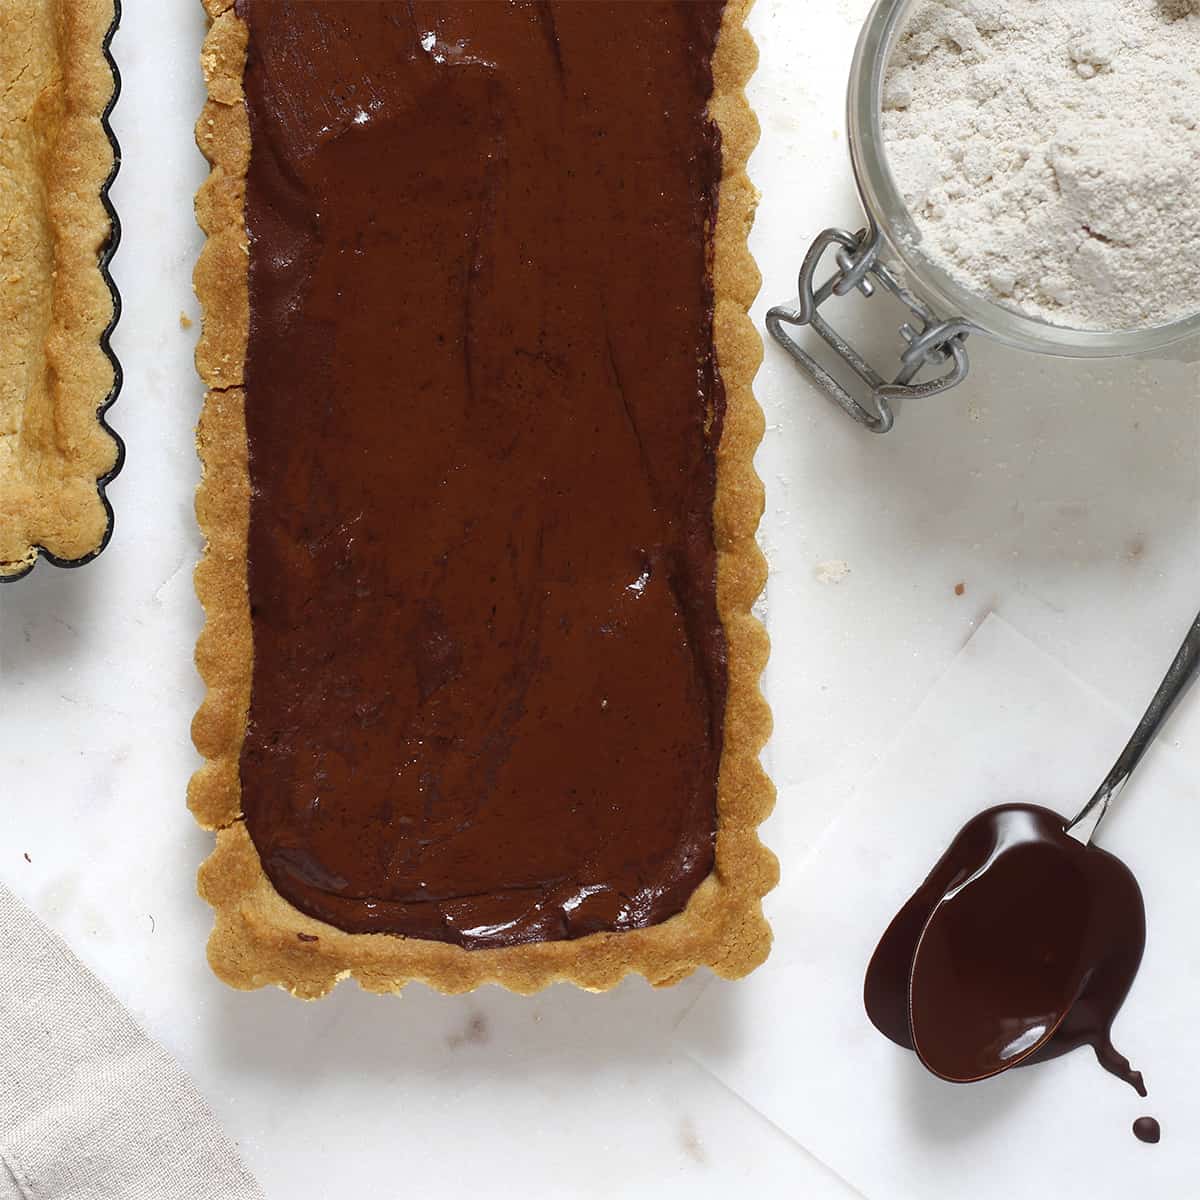
Step 2: Warm milk in a pot, bringing to a simmer and turn off. Stir in chocolate and allow to melt.
Pour filling into tart crust, smooth the surface with a spoon, sprinkle with salt.
PRO-tip: Remove crust from pan before filling.
👉Want to Save This Recipe?
Step 3. Chill 2 hours or until firm, slice and serve.
Recipe Tips
1.Be sure the chocolate is completely melted before pouring into the tart crust. Microwave 10 seconds or so if you need to to finish the melting.
2.Grease and flour the tart pan even though it has a removable bottom. That really increases your chances of releasing the finished baked tart intact.
Storage
Keep this tart at room temperature for about 24 hours. After that, put in a sealed container and store it in the refrigerator for a week. Freeze for 1 month in a sealed container.
FAQS
Yes, you can freeze the crust instead of bake it, but it will be moist in texture, not crumbly like a cookie. To freeze, freeze the crust for one hour before filling.
No, this recipe is vegan and dairy free and uses chocolate, butter and coconut milk for the filling.
If you removed the tart from the pan, and used a long rectangular pan, cut wedges. If you use a round pan, cut as you would a pie. I serve with a scoop of ice cream or whipped cream.
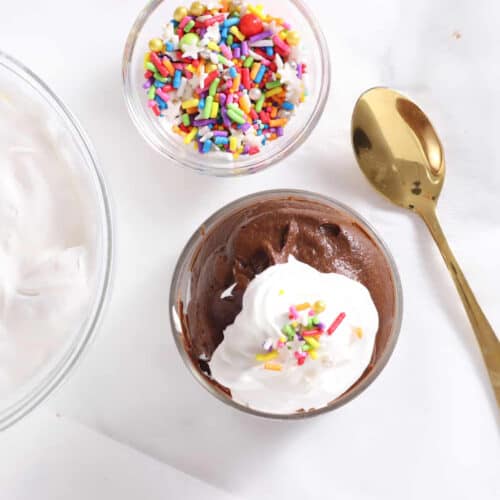
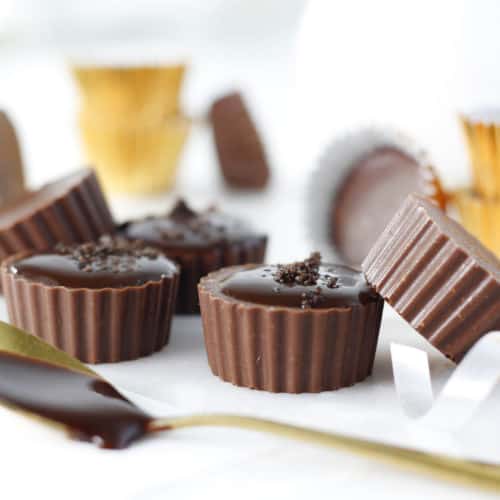
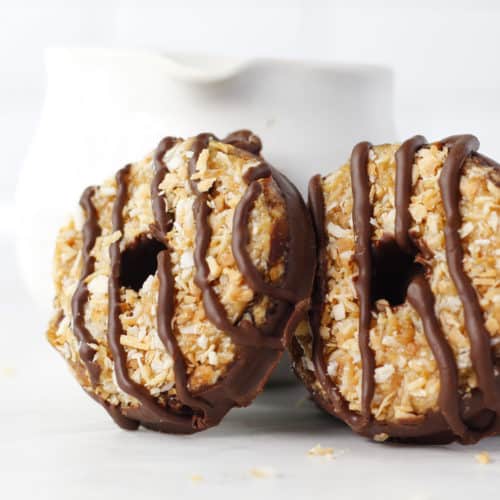
Other No Bake Chocolate Desserts
If you tried this recipe or any other recipe on my website, please leave a 🌟 star rating and let me know how it went in the 📝 comments below. Thanks for visiting!
📖 Recipe

Salted Chocolate Tart with Shortbread Crust
Ingredients
- 2 cups almond flour
- 1 ¼ cup oat flour Or more almond flour
- 1-2 tablespoon milk
- ⅔ cup butter vegan butter
- 2 tablespoon maple syrup
- ½ teaspoon vanilla
Chocolate Filling Ingredients:
- 1 (13.5oz) can full-fat coconut milk canned, not chilled
- 2 ⅓ cups chocolate chips or 5 (3oz) chocolate bars chopped
- 1 teaspoon vanilla extract
- pinch salt
- flaky sea salt
Useful Equipment
- 14 inch Rectangular Tart
👉Want to Save This Recipe?
Instructions
Prep
- Preheat oven to 350°F.
- Grease and dust with flour the bottom and sides of a 14-inch rectangular tart pan (with removable bottom) with coconut oil. (This recipe also works in a 9-10 round tart pan or even a traditional pie pan although with a pie pan, you'll have to serve the tart in the pan).
- Do not chill the can of coconut milk overnight or it will separate. If you open the can, and find the solid is separated from the liquid, set the open can in a pot of boiling water and stir for a few minutes until creamy.
Make The Crust
- Use a blender or food processor or mixer to combine the crust ingredients. Stop as soon as the mixture resembles a dough. If it is too crumbly, add more milk.
- Press the crust mixture evenly into the bottom of the greased pan. Start forming the edges first, and then smooth out the center with a flat-bottomed glass.
- Puncture the crust on the bottom in several places with a fork to ensure air bubbles don't form.
- Bake for 12 to 18 minutes. Watch it carefully as oven temperatures vary. You want the overall color of the crust to be brown, but of course, not burned.When it's ready, remove from oven and sit the pan on a wire rack to cool to room temperature. Do not remove the tart from the pan yet or it will break. If the bottom has bubbled up at all, gentle press flat while it is still warm with the bottom of measuring cup or other flat bottle.
Make The Chocolate Filling
- Shake the room-temperature can of coconut milk, open it and pour the contents into a saucepan. Heat the milk on the stove on medium heat until simmering. Don't boil.
- Or add it to a microwave-safe container and microwave for 1 minute. If it doesn't seem steamy, microwave for another 15 seconds.
- Add the chocolate chips into the hot milk and stir until all chips are melted. With a very dry spoon, stir the mixture until the chocolate is completely melted and smooth.
- If the chips haven't melted, microwave at 10 second intervals.
- Stir in the vanilla extract and salt until combined.
Remove crust
- Removable bottom tart pan. Remove the tart crust from a tart pan with a removable bottom before you fill the tart. Hold the pan with on hand, and press upward on the center (removable) panel, and gently transfer the crust on the center panel to a cookie sheet.
- Pie pan. If you used a pie pan, leave the crust in it.
Fill crust
- Pour the chocolate mixture into the baked yet cooled crust, and smooth the top with a spoon until it is even. Refrigerate for at least 2 hours, or until firm.
- Serve chilled, sprinkled with flaky sea salt.
Storage
- Refrigerate this tart for four days covered.
Sam says
Hi there, what can I use instead of organic vegetable shortening/vegan butter? Coconut oil or regular unsalted butter? Thanks!
Dee Dine says
Hi Sam, regular butter is fine to use.
Pam says
We have a nut allergy. Is there a sub for almond flour?
Dee Dine says
Sure, you can use all oat flour if you have it or substitute the almond flour with all purpose flour. Just use a bit less, instead of 2 cups of almond flour, use 1 3/4 cups of all purpose flour. Dee
Cathy says
I want to review this because I made the crust and it was out of this world! I gave a dinner party and needed an elegant dessert so I actually crumbled the crust into wine goblets and poured the chocolate on top like a pudding. Rave reviews!! Will definitely make again.:)
Dee Dine says
Awww thank you Cathy, that was a wonderful variation and review! Dee xx
Stephanie says
I just made this tart! Awesome! Seriously. I can't believe it really. I am no baker. I made your fudge and this is another winner.
Dee Dine says
Thank you for such a nice review Stephanie! I know, my 2-ingredient fudge recipe is so easy, so happy you like it. And very happy you liked my tart! Dee xx
N.G. says
I don't want to buy both oat flour and almond flour. I have some coconut flour, can I use that?
Dee Dine says
Hi! Nope, please don't. Just use all oat flour or all almond flour. The almond flour will make it more crumbly and tasty. You can't use coconut flour in this recipe, it absorbs too much liquid and will ruin the crust. Dee xx
Grace Carpenter says
wow Wow WOW, I just LOVE this Tarte! So SO easy to make! And I am no Baker!! Knowing the ingredients are Gluten & Dairy free just makes you want to boast about making this!
I used All Almond flour, didnt use the Oat flour, simply because I couldn't find it! I used crushed Pistachios as a topping as couldnt find salt flakes. I baked this to help with my sweet cravings as currently doing the Arbonne healthy living plan. Who knew Dairy free could taste so good!
Dee Dine says
So happy you love this tart! It's a favorite in our family too! Thank you for noting it is easy, that's so important, isn't it?
Chelly says
Hi! I don't leave reviews but this one deserves one! Ten stars!
Dee Dine says
Well I am glad you left one here, thank you Chelly! Dee xx
Gloria E. says
Dee, I was so excited you finally made a square tart. I have a pan I got from Christmas lol. It turned out just like yours. The crust was crumbly like in your pictures. The chocolate filling worried me for a minute because it turned clumpy at first but I kept stirring and it became smooth. Thank you!
Dee Dine says
Gloria, haha yes, I finally bought a rectangular tart pan myself! Glad that helped you and that you loved the recipe. It is true, the chocolate can vary depending on the brand and quality and even temperature of the coconut cream. Glad yours turned out! Dee xx
RalphieT says
the crust is amazing but the chocolate seized up into a ball.
Dee Dine says
That can happen when adding coconut cream to melted chocolate. To smooth it out, set the seized mixture into a water bath, warm and stir and it should unsieze. By water bath, I mean put a container in a pot of boiling water and put the chocolate mixture in the container. Don't let any water get into the chocolate.
Gabriella says
This is very good and interesting. Can you also publish a recipe to make an orange tart? My kids really love it and I want to make a few for them.
Dee | Green Smoothie Gourmet says
Thank you Gabriella. I'll put it on my list