
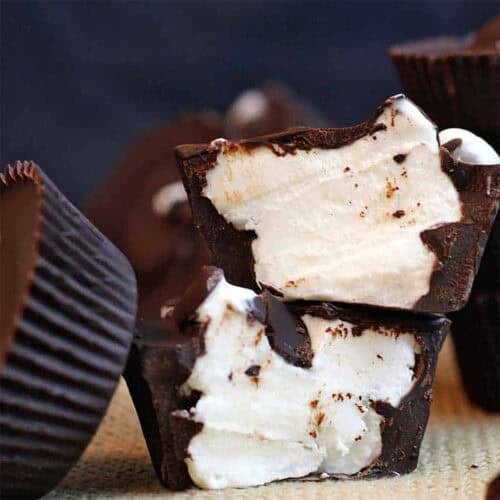
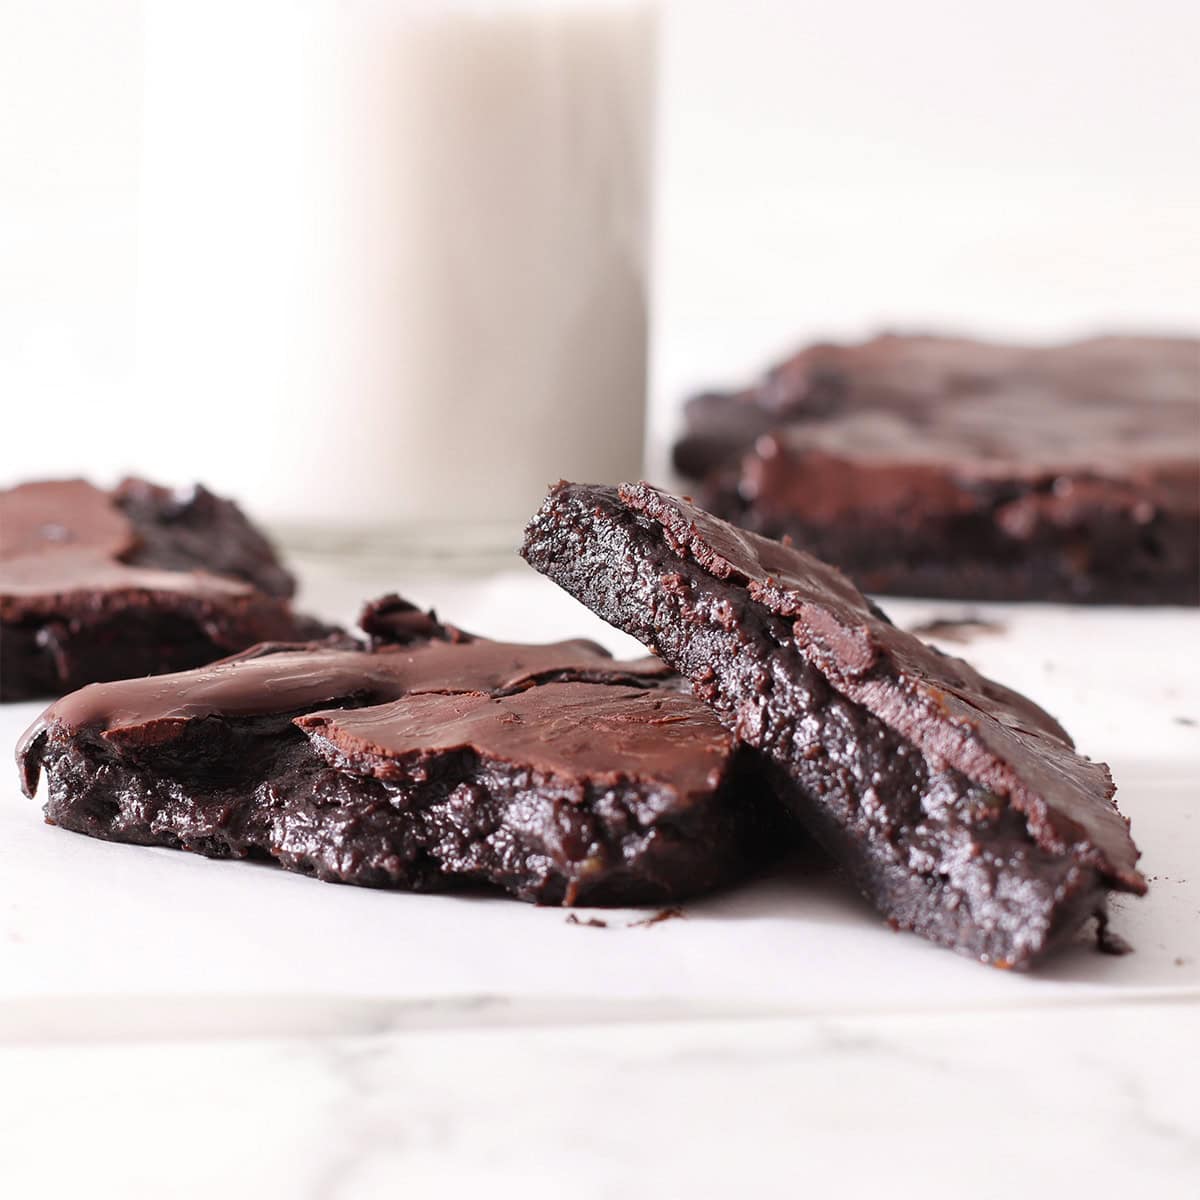
Chocolate frozen yogurt cups, only 2 ingredients, chilled vanilla cream in a snappy chocolate shell. Easy, no bake frozen yogurt cups made in a cupcake pan — no oven, perfect for summer.
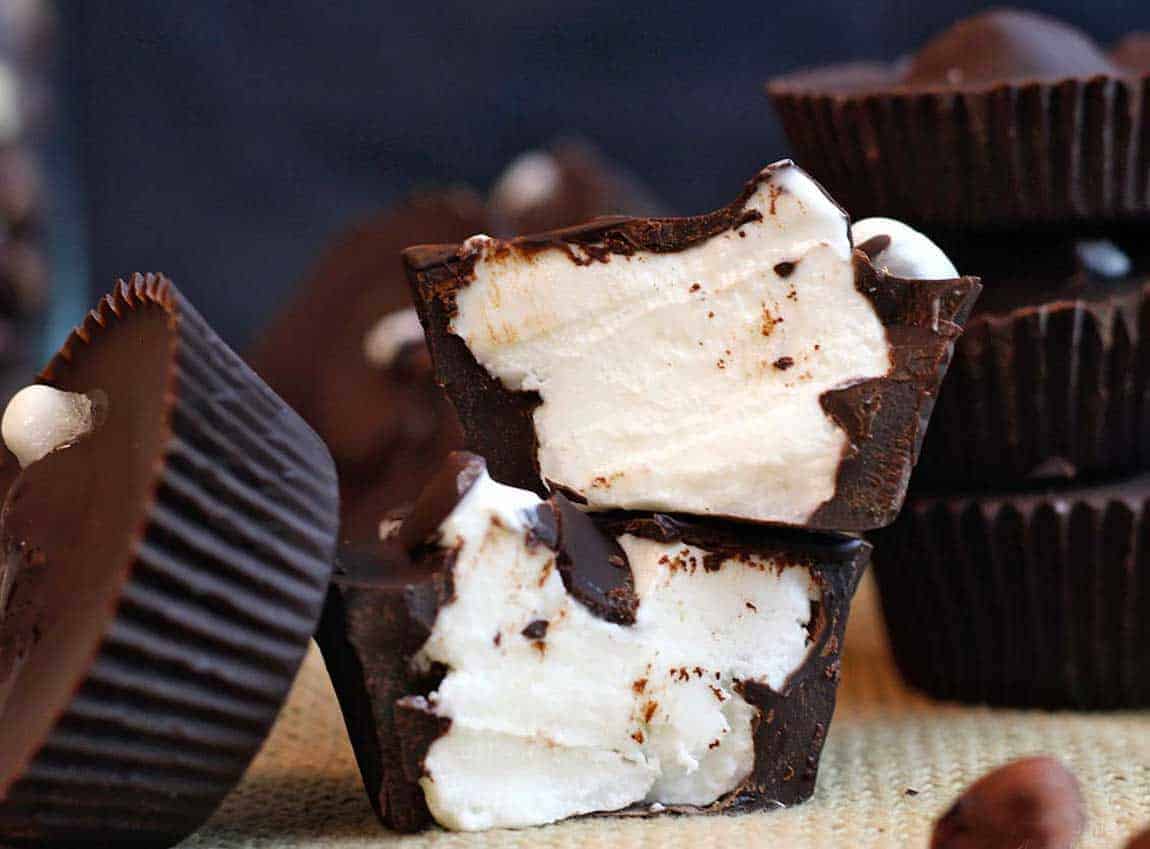
Chocolate frozen yogurt cups are a summer snacking game-changer. Only 2 ingredients to make a creamy vanilla center coated with a crisp chocolate shell. Keep this ice cream snack in the freezer ready for kids or adults alike.
Jump to:
Why You'll Love Yogurt Cups
- Just 2 simple ingredients (plus optional flavor add-ins)
- Naturally dairy-free and gluten-free
- No baking, no fancy equipment — just a cupcake pan
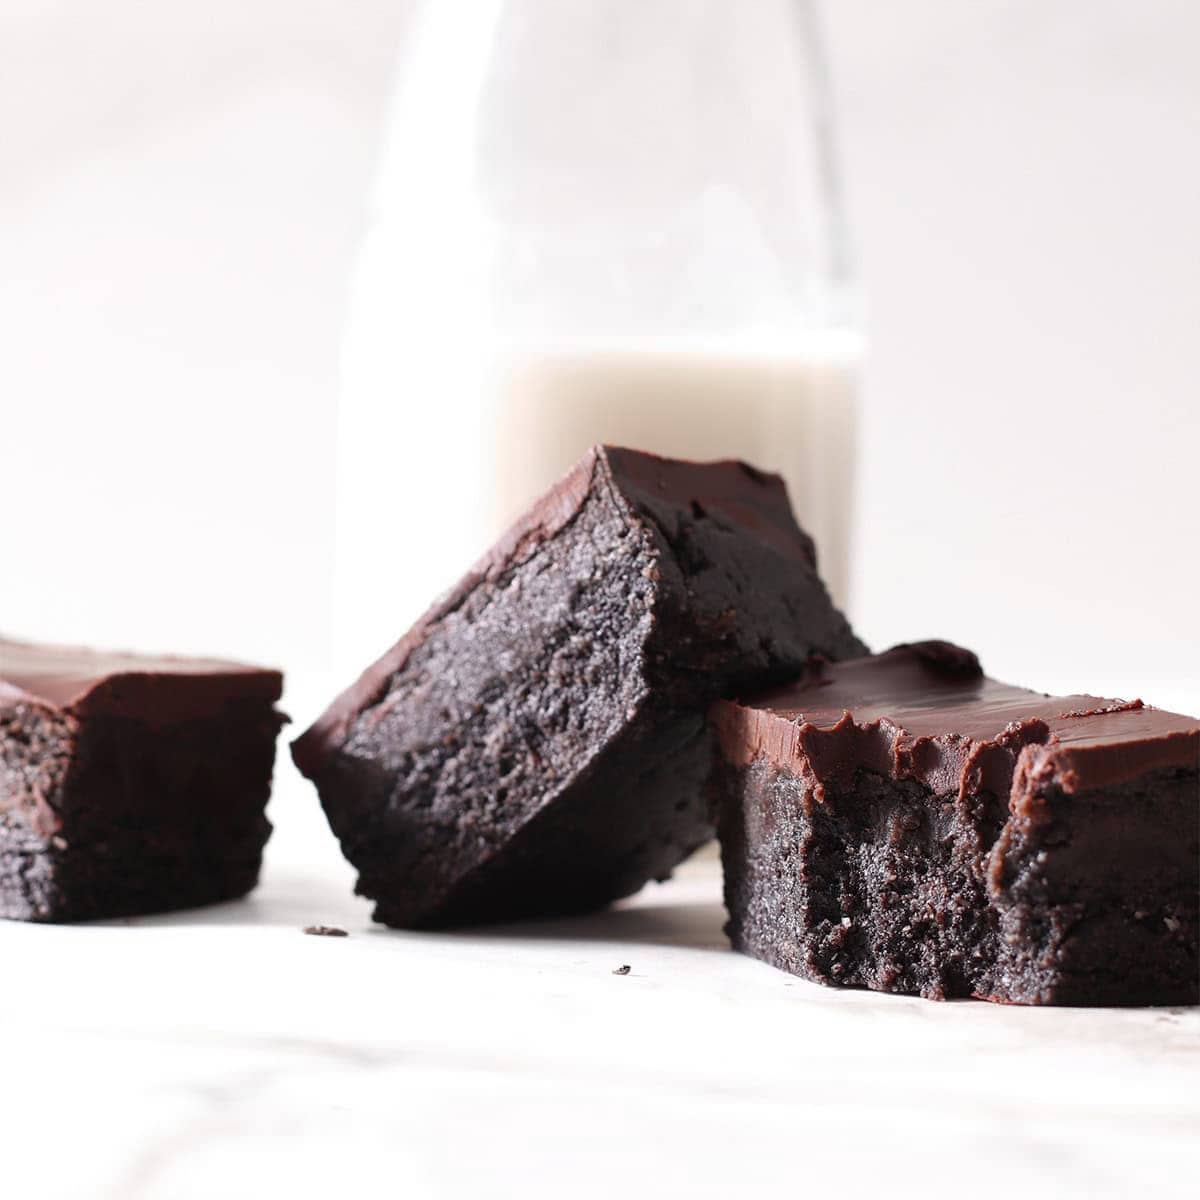
- Creamy chilled center + crisp chocolate shell
- Perfect for summer picnics and ice cream treats
📋Ingredients Needed
- Chocolate. I used chocolate chips but chunks of chocolate bar works.
- Yogurt. Use a high fat for extra creamy texture. Flavored or plain.
- Optional: vanilla for flavor, coconut oil for a snappier chocolate shell
See the recipe card at the bottom for full information on ingredients and quantities.
🧁Steps to Make
For more detail, visit the complete and printable recipe at the bottom of this post, but here are general steps.
Step 1: Melt the Chocolate: In a microwave-safe bowl, melt chocolate chips (and coconut oil if using) together for about 60 seconds. Stir until smooth.
Step 2. Make the Shells: Line a standard 6-cup muffin tin or a 12-cup mini tin with cupcake liners. Spoon 1–2 tablespoons of melted chocolate into each liner and tilt the tin or use a spoon to coat the sides.
Step 3: Chill the Shells: Let set in the fridge for 10–15 minutes. Repeat a second coating if you want a thicker shell. Save extra melted chocolate to seal the tops!
Step 4: Add the Yogurt Center: Once the chocolate shells are firm, spoon in 2–3 tablespoons of yogurt into each one.
Step 5: Seal the Cups: Top each yogurt center with a thin layer of reserved melted chocolate. Chill again for at least 1 hour, or until firm.
Step 6: Serve & Store: Peel away liners and enjoy straight from the fridge or freezer!
👉Want to Save This Recipe?
Recipe Tips
- Use paper liners or silicone cupcake liners for easy release.
- Use coconut oil — it helps the shell harden and stay shiny.
- Want extra flavor? Add a tiny splash of vanilla or maple syrup to the yogurt.
Storage
Keep these yogurt cups frozen for up to three months. Let thaw 5–10 minutes before biting in.
FAQS
Any creamy yogurt! Almond, coconut, cashew, oat — even Greek yogurt if dairy free is not needed.
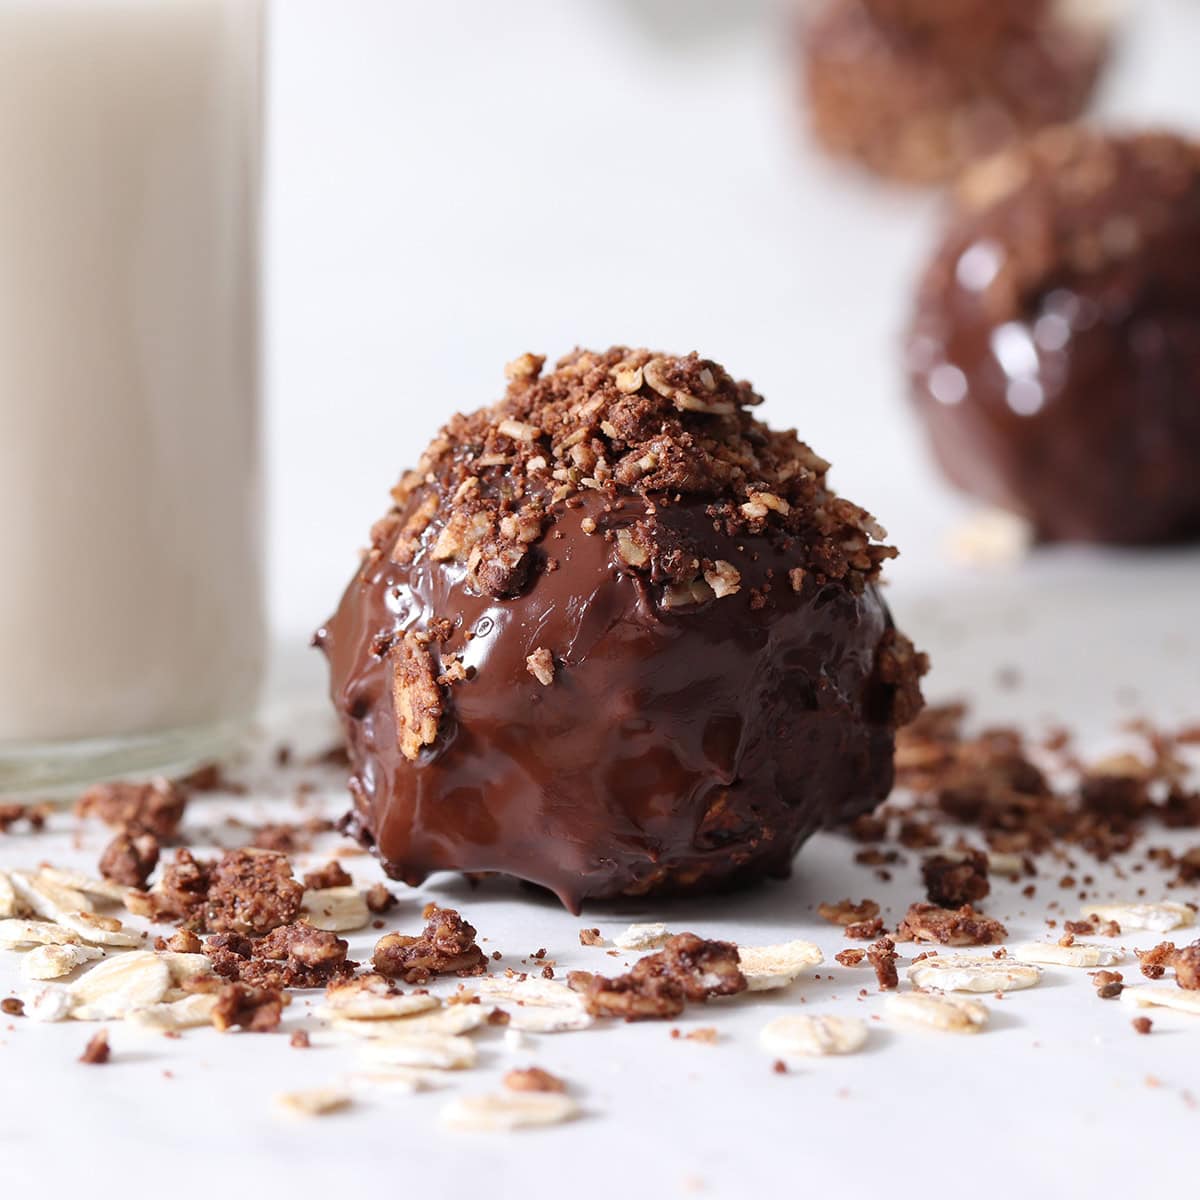
Absolutely. Try chopped nuts, crushed cookies, or swirl in raspberry jam for a flavor twist before sealing the cups with chocolate.
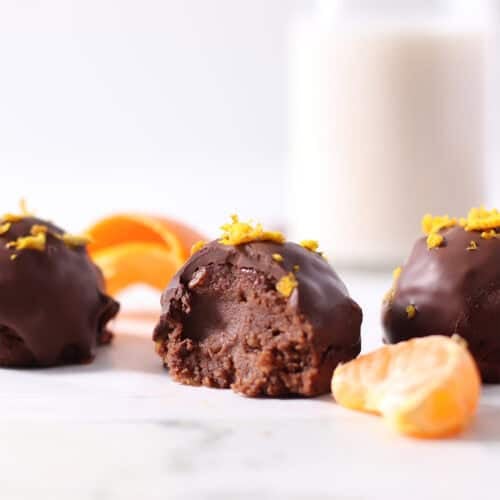
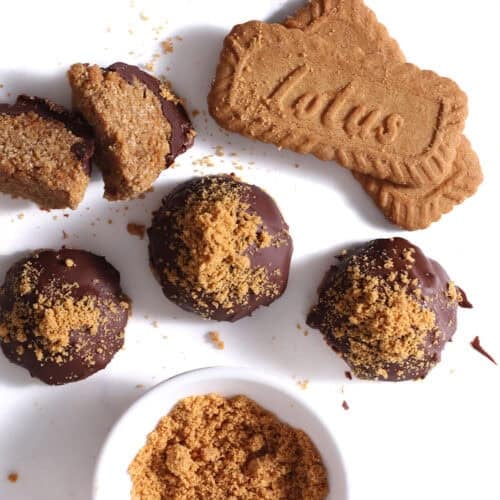
More Frozen Yogurt Treats
If you tried this recipe or any other recipe on my website, please leave a 🌟🌟🌟🌟🌟 star rating, even a one-word review, and let me know how it went in the 📝 comments below. Thanks for visiting!
📖 Recipe
Chocolate Frozen Yogurt Cups (2 ingredient)
Equipment
- cupcake pan
Ingredients
Chocolate Shell
- 1 cup chocolate chips
- 2 cups yogurt I used almond yogurt
optional
- 1 tablespoon coconut oil (add to melted chocolate)
- 1 teaspoon vanilla
👉Want to Save This Recipe?
Instructions
- Melt the Chocolate: In a microwave-safe bowl, melt chocolate chips together for about 60 seconds. Stir until smooth.1 cup chocolate chips, 1 tablespoon coconut oil
- Make the Shells: Line a standard 6-cup muffin tin or a 12-cup mini tin with cupcake liners. Spoon 1–2 tablespoons of melted chocolate into each liner and tilt the tin or use a spoon to coat the sides.
- Chill the Shells: Let set in the fridge for 10–15 minutes. Repeat a second coating if you want a thicker shell. Save extra melted chocolate to seal the tops!
- Add the Yogurt Center: Once the chocolate shells are firm, spoon in 2–3 tablespoons of yogurt into each one.
- Seal the Cups: Top each yogurt center with a thin layer of reserved melted chocolate. Chill again for at least 1 hour, or until firm.2 cups yogurt
- Serve & Store: Peel away liners and enjoy straight from the fridge or freezer!
Tal says
Hey, this looks amazing! I'm just wondering about the Whipped Vanilla Cream Center - is it need to blended with a blender, not whipped with a mixer?
Dee Dine says
I get a creamier and more thorough blend with my blender but using a mixer is fine.
Ela says
The filling looks so fluffy and creamy! I would love to grab some of these beautiful truffle cups! Going to pin the recipe now. 🙂
Dee Dine says
Thank you so much Ela! I'd love to share with you! Thanks for pinning! Dee xx
Emily K. says
Thank you for putting a instruction to refridgerate the milk. I've used a few receipes so far with milk/cream in them and none of them have mentioned anything about refridgerating even when it was needed.
Dee says
Thank you for such a nice comment Emily. I really appreciate it. Hope you like the recipe! Best, Dee xx